Are you flying to the Philippines for the first time? Whether you’re a foreign visitor or a returning Filipino, this step-by-step Manila International Arrival Guide will give you an overview on what to expect upon your arrival.
I’ll be focusing mostly on Ninoy Aquino International Airport (NAIA), which is the primary gateway to Manila. But most of the steps here are also applicable to other international airports like Cebu and Clark. Ready?
BEFORE YOUR TRIP
Before your trip, there are things that you need to take care of.
1. Check if you need a visa.
First, let’s talk about visa. If you’re a Philippine passport holder, of course, you don’t need a visa to return. Most nationalities do NOT need a visa to enter the Philippines, either. Under Executive Order 408, citizens of 157 countries can visit the Philippines visa-free, provided that:
- Your stay is not exceeding thirty (30) days.
- Your passport is valid for at least six (6) months beyond the period of stay in the Philippines.
- You have outward-bound tickets.
Some details are different for some nationalities, though. For example, Brazilian and Israeli nationals can stay for up to 59 days.
Indian nationals, on the other hand, can stay for up to 14 days for tourism or business purposes, but they are required to also present a confirmed hotel accommodation booking and proof of financial capacity, on top of the exit or onward ticket.
To be absolutely certain, contact your foreign affairs department or the Philippine embassy or consulate in your area for the updated policies.
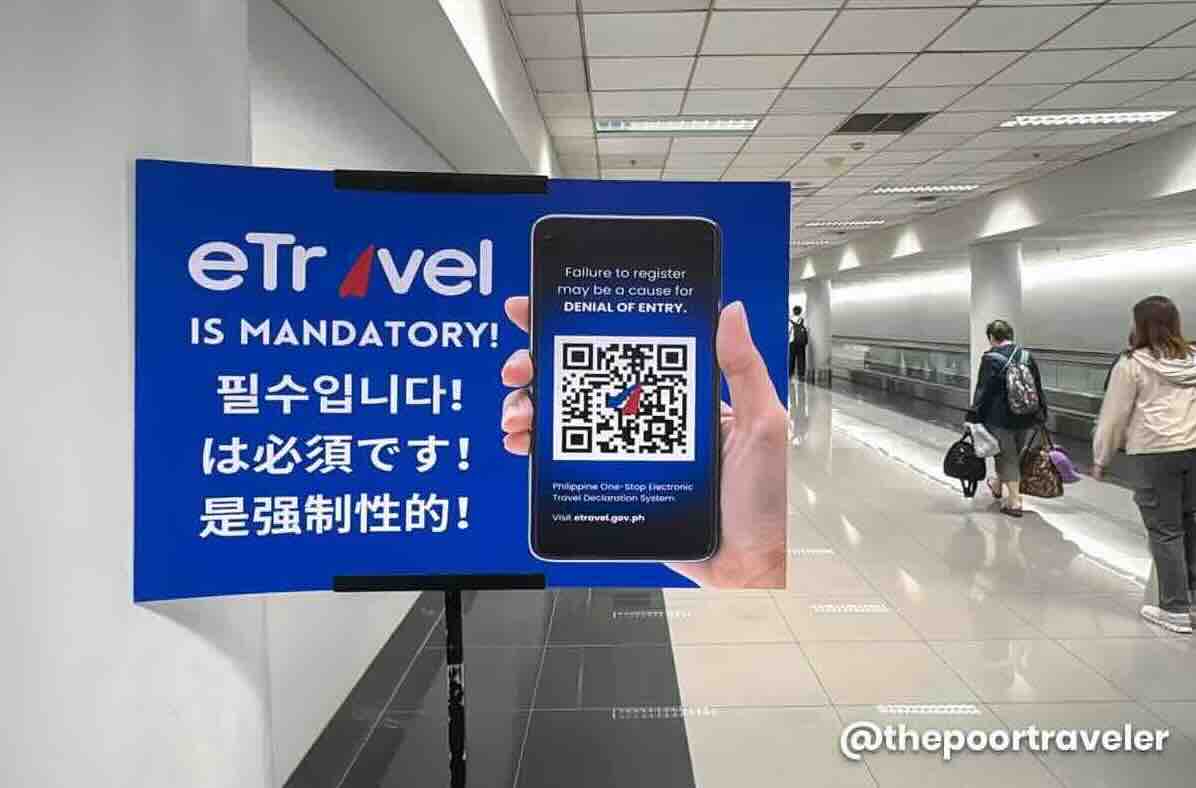
2. Accomplish the eTravel form.
What is this form? And why do you have to bother? Well, eTravel is mandatory for everyone traveling to the Philippines. Whether you’re a returning Filipino or a foreign visitor, you are required to have this done prior to your entry.
This form serves as the Immigration Arrival Card, Customs Declaration Form, and Health Declaration Form. You can fill this out online. Either visit the official website (etravel.gov.ph) or download the eGovPH app: Android, iOS (Apple).
You need an email address to get this done.

- If you do it on a web browser, just click on SIGN IN, then click CREATE AN ACCOUNT, and enter your email address.
- The form will ask for your personal and travel details, including your flight number, the dates of your stay, where you will be staying (can be a hotel address or a local contact’s address), and what the purpose of your trip is.
- If you’re a Filipino or a Philippine passport holder, under Purpose of Travel, choose RETURNING RESIDENT.
- It will also ask you to list down all the countries you have visited in the past 30 days, and whether you’ve been sick recently. It will also ask you to declare restricted items you’re bringing in, if you have any.
- Once it’s done and submitted, it will generate a QR code. You can download it or take a screenshot of it. You’ll also receive this via email. Airline check-in agents may ask to see this QR code before they check you in.
eTRAVEL is completely FREE OF CHARGE. If the website or app you’re using is charging you a fee, you’re getting scammed. It is COMPLETELY FREE. No need to pay for anything.
That’s pretty much it! We have a more detailed step-by-step gude here: HOW TO ACCOMPLISH eTRAVEL FORM!
UPON ARRIVAL
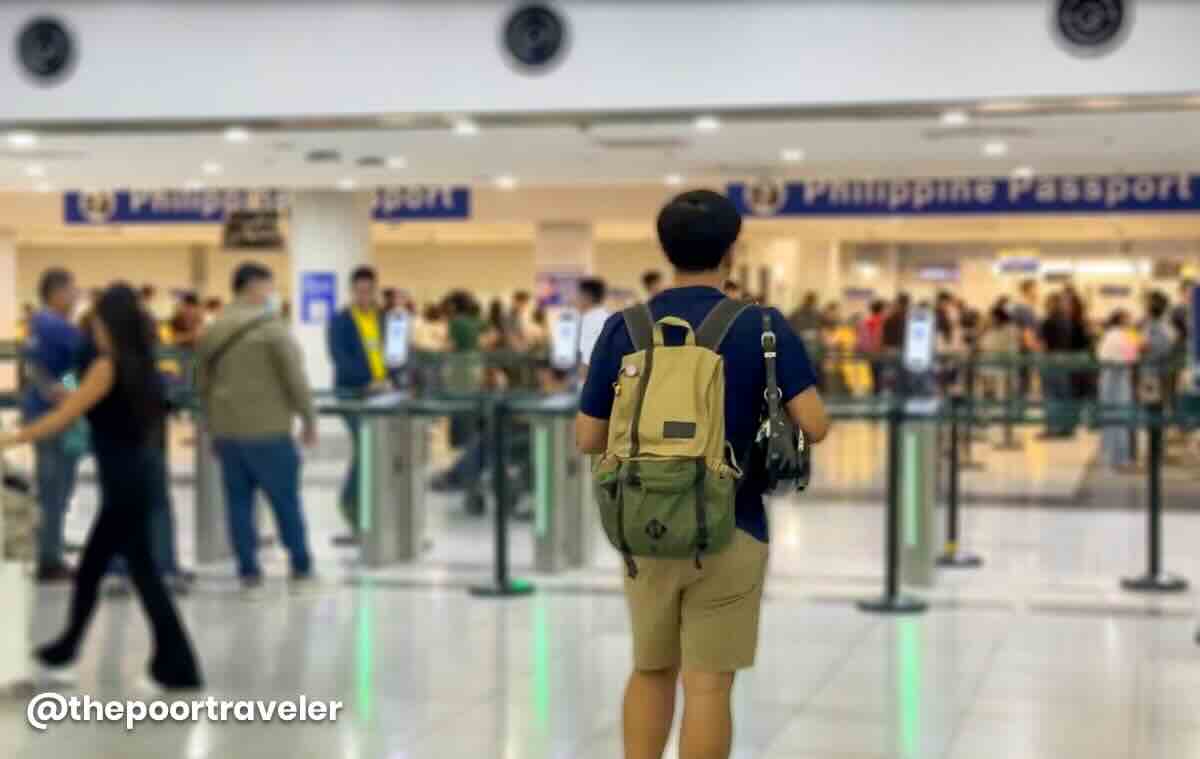
Step 1: Make your way to the Immigration counters.
Just follow the ARRIVAL signs. Along the way, you’ll pass by a temperature check. Finally at the Immigration area, you’ll find two main types of Immigration gates:
- If you’re a foreign national, fall in line at the manual counters.
- If you’re a Philippine passport holder, you can use the electronic gates. It’s usually much faster as there are more e-gates than manual counters. Just queue up and wait for your turn. Do not approach the gate until the passenger before you is completely through.
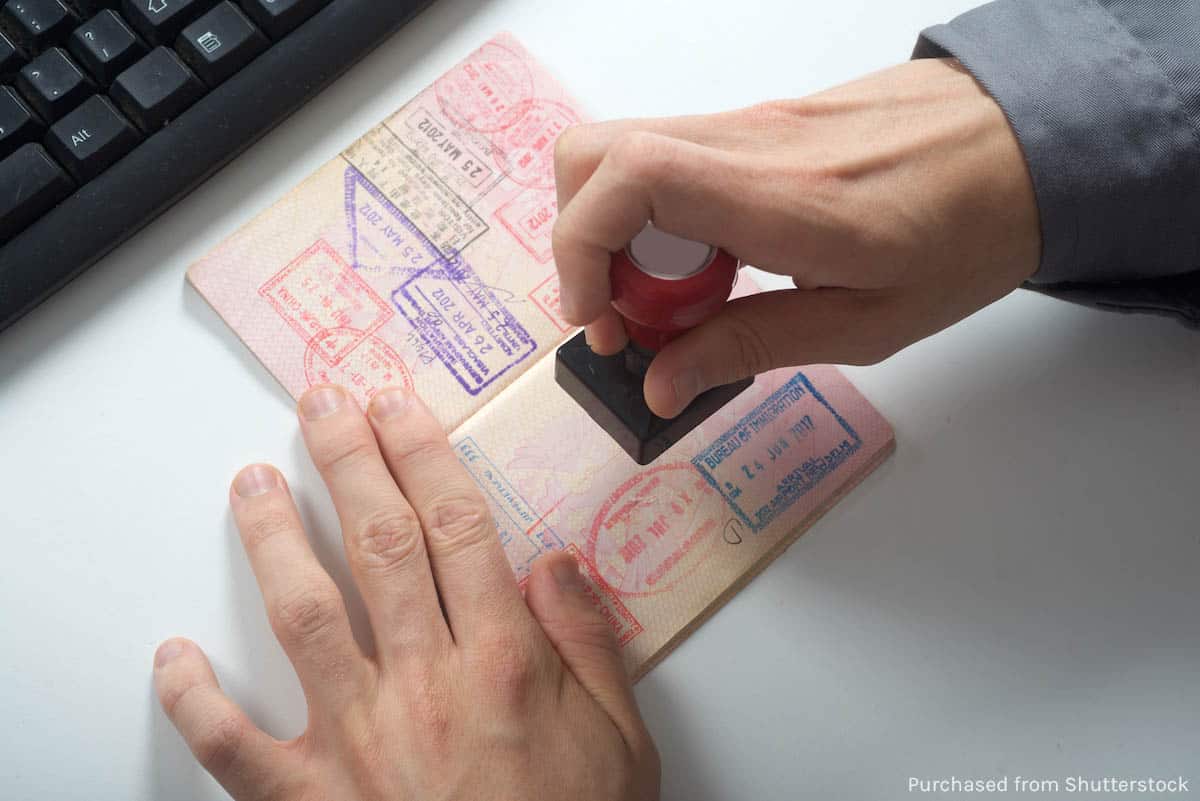

Step 2: Go through Immigration check.
Last December 2025, they launched brand new, more advanced e-Gates. These new ones are already operational at Terminal 1 and Terminal 3. I’m not sure if Terminal 2 is also using the same units.
- But if you’re at Terminal 1 or 3, this is how it works: First, step into the circle and look at the camera. It has a face-recognition feature, so it should detect your face to confirm your identity, ideally. Then, scan your passport’s bio page. After that, you’re good to go. No need to scan your boarding pass.
- But if what you encounter is still the old system, here’s the process: First, scan your boarding pass, specifically the part with the barcode. Then, scan the info page of your passport.
Now, these scanners are not the smartest or the easiest to work with. If at first try, you encounter an error, try again, but this time move your boarding pass or passport closer to the left edge. In my experience, it usually does the trick. And I was validated when on one of my recent trips, I heard one of the immigration officers tell passengers to move their passports to the left.If it still doesn’t work, you’ll be instructed to just proceed to the manned counters for manual processing.
NOTE: When you use the e-gates, you will not get a stamp or a sticker. Instead, you will receive an email confirmation in your inbox through the email address you provided when you completed the eTravel form.
- If you use the manned counters, just hand your passport to the Immigration Officer and answer their questions. If you’re a returning resident, it will be quick. It won’t be as strict or thorough as the exit formalities.
If you’re a foreign national, be prepared to present your visa and other requirements.
Once cleared, proceed to the Baggage Claim Area.
Step 3: Claim your bags at the carousel.
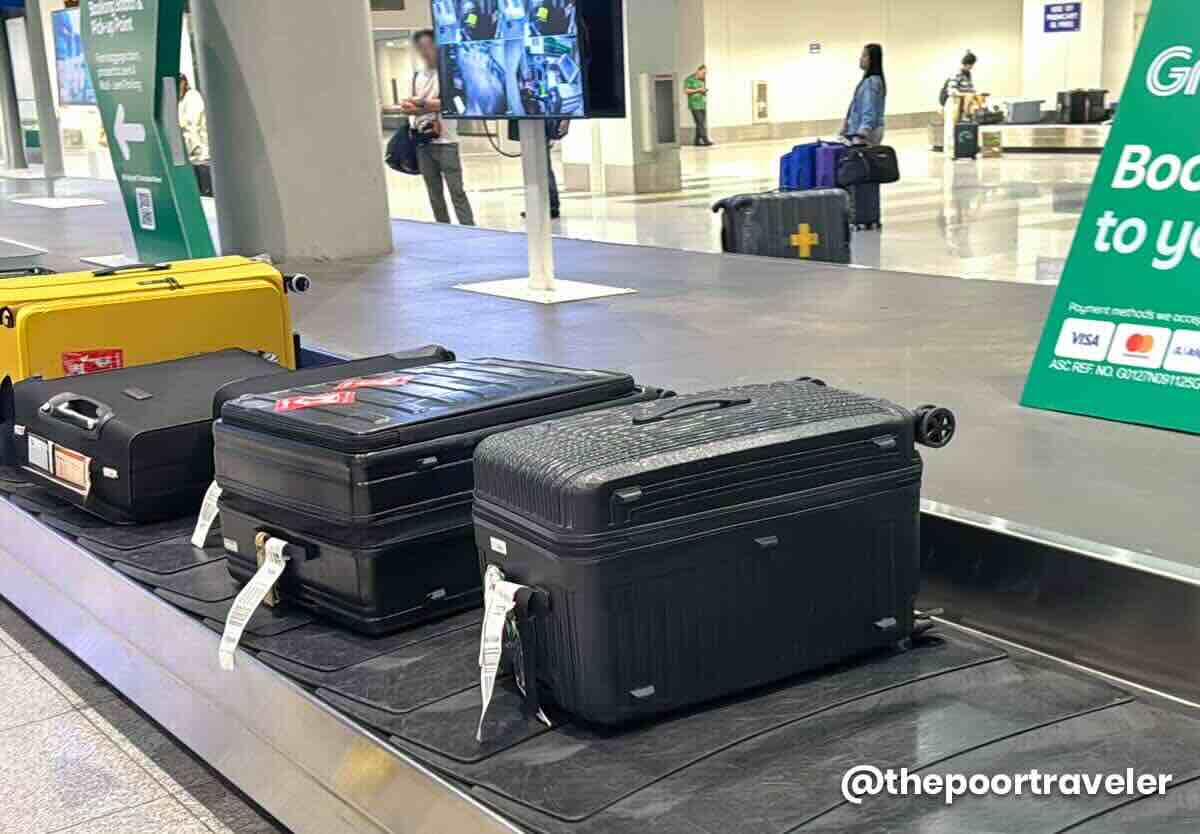

- Check the screen for the carousel assigned to your flight. Actually, it’s also announced onboard before you deplane. If you missed it, don’t worry, you can just check the screens.
- Make sure you have the correct bag or suitcase. Most bags look alike, and mix-ups happen more often than you think. So always check the tags on the bag before leaving.
Step 4: Undergo Customs check. Or NOT.
There are usually two lanes at the exit: RED LANE for those with items to declare, and GREEN LANE for those without.
- For most GREEN LANE travelers, you can just walk through. I say most because random or “reasonable” checks may still be done.
- For those in the RED LANE, your QR code may be scanned again.
Once through, you’ll emerge into the Arrival Hall.
IMPORTANT! NAIA or Manila Airport has four terminals. It’s important to know which terminal your flight will be using because they are far apart. I’ll forgo telling you what terminal serves what airlines because terminal assignments change often. So just look at your flight booking. Or ask the airline if you want to double-check. You can also check NAIA’s official Facebook Page.
Step 5: Secure your transportation out of the airport.
There is no subway or train service that connects the airport to the city center. We only have a few ways to get out of the airport.
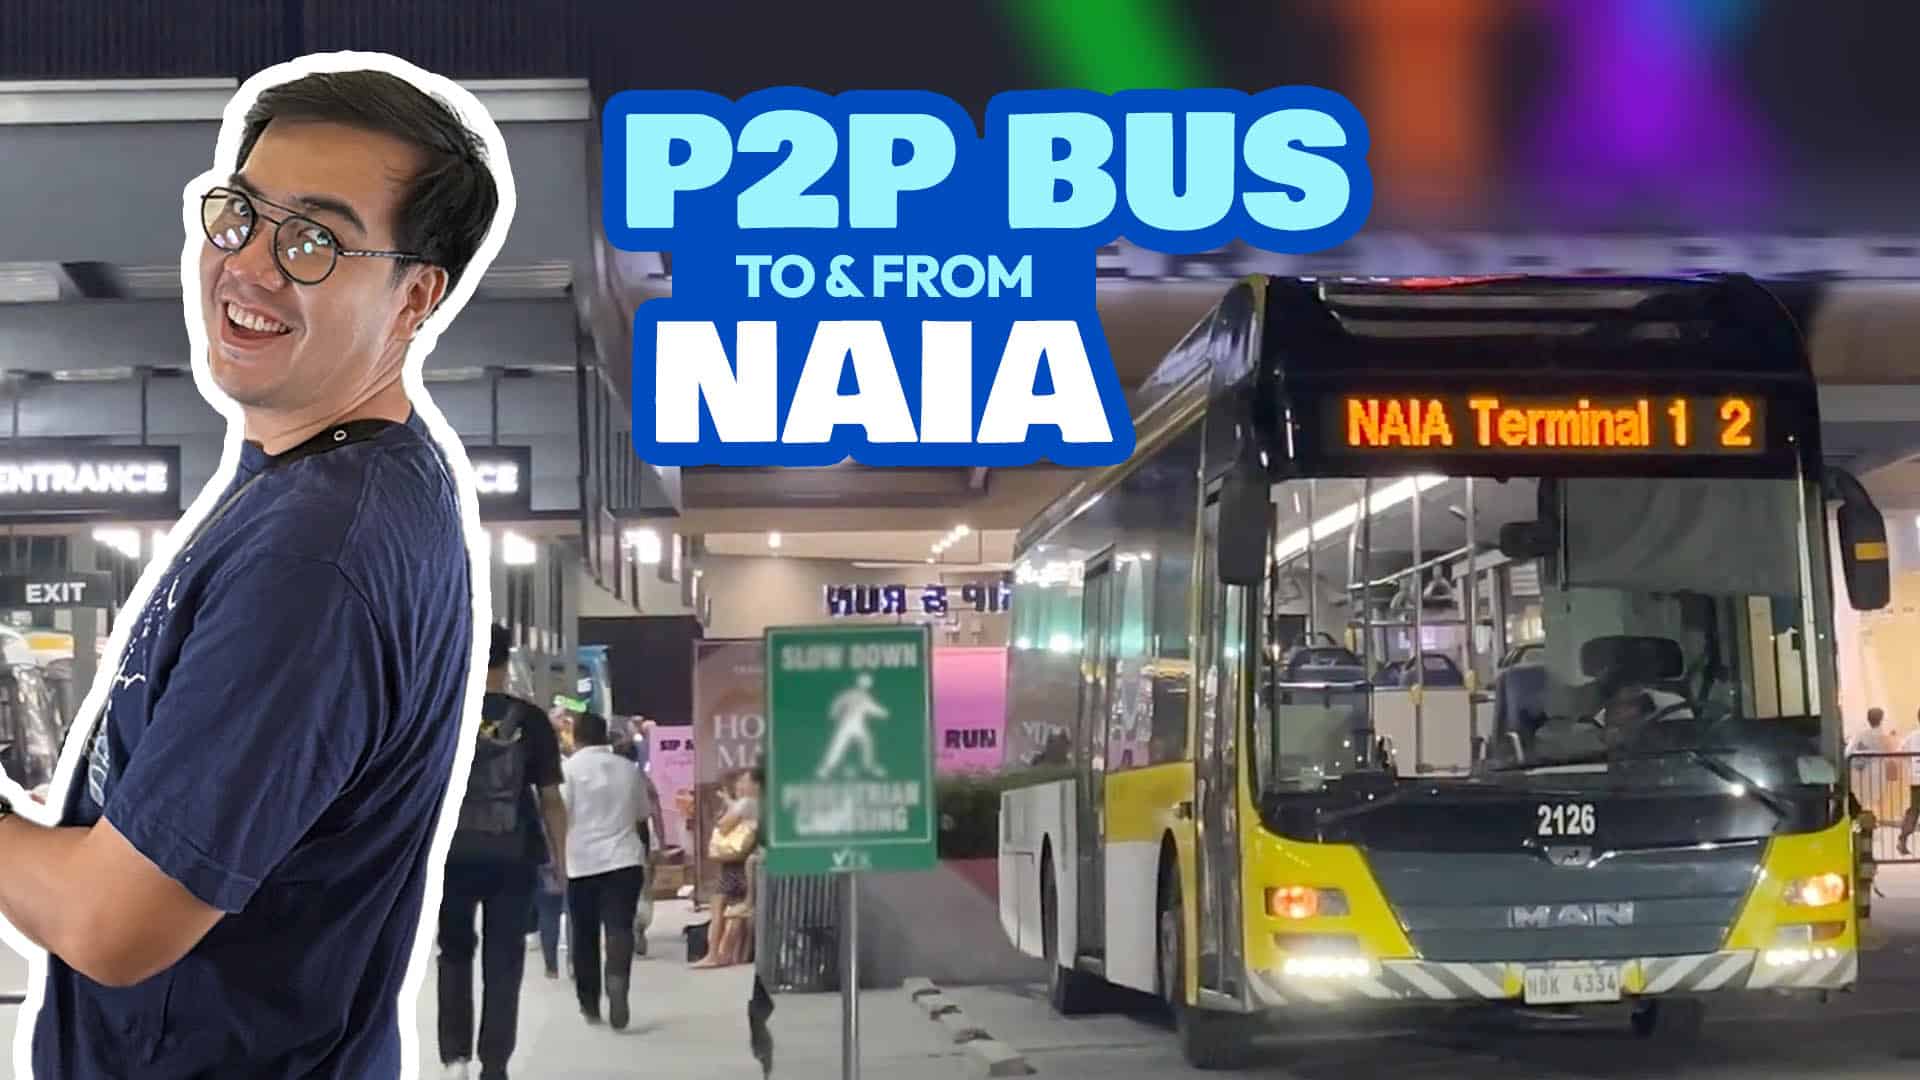
By UBE Express Bus
You can just hop on an UBE Express, a point-to-point airport bus if your hotel or destination is close to any of these terminals:
- PITX (Paranaque Integrated Terminal Exchange)
- Victory Liner Pasay
- Robinsons Place Manila
- Araneta City
- The District
- Robinsons Santa Rosa
UBE Express picks up passengers at NAIA Terminal 3, across Bay 12 of the Arrival area.

We have a more detailed article about UBE Express, including fares, schedules, and other tips. You can check it here: UBE EXPRESS AIRPORT BUS GUIDE
If you’re landing at Terminal 1, 2 or 4, you’ll need to transfer to Terminal 3 first, which costs P50. UBE Express has a NAIA loop that runs in one direction. It goes from Terminal 1 to Terminal 2 to Terminal 4 then finally to Terminal 3. You can’t use this bus to go from Terminal 2 to 1. You’ll have to find another way.
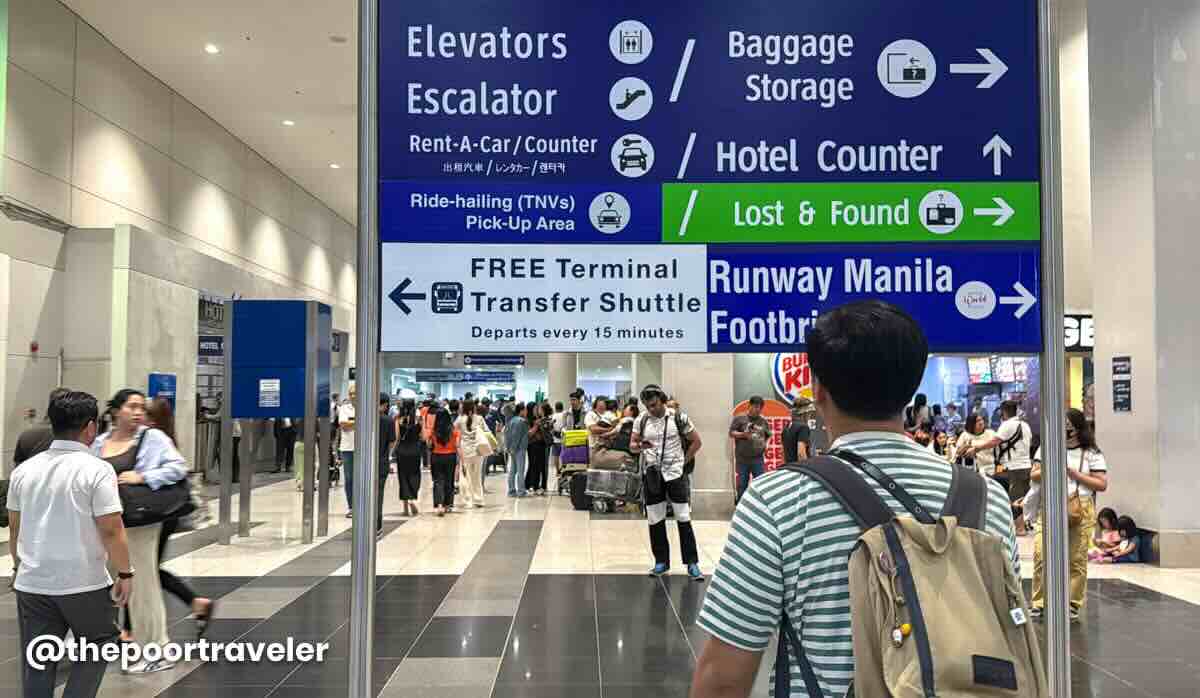
NOTE: The UBE Express is different from the NAIA Inter-Terminal Shuttle Service, which is free of charge. It’s open only to passengers with a connecting flight. To use this, you’ll need to show proof that you have a connecting flight to catch. I’ll discuss this later when we talk about connecting flights.
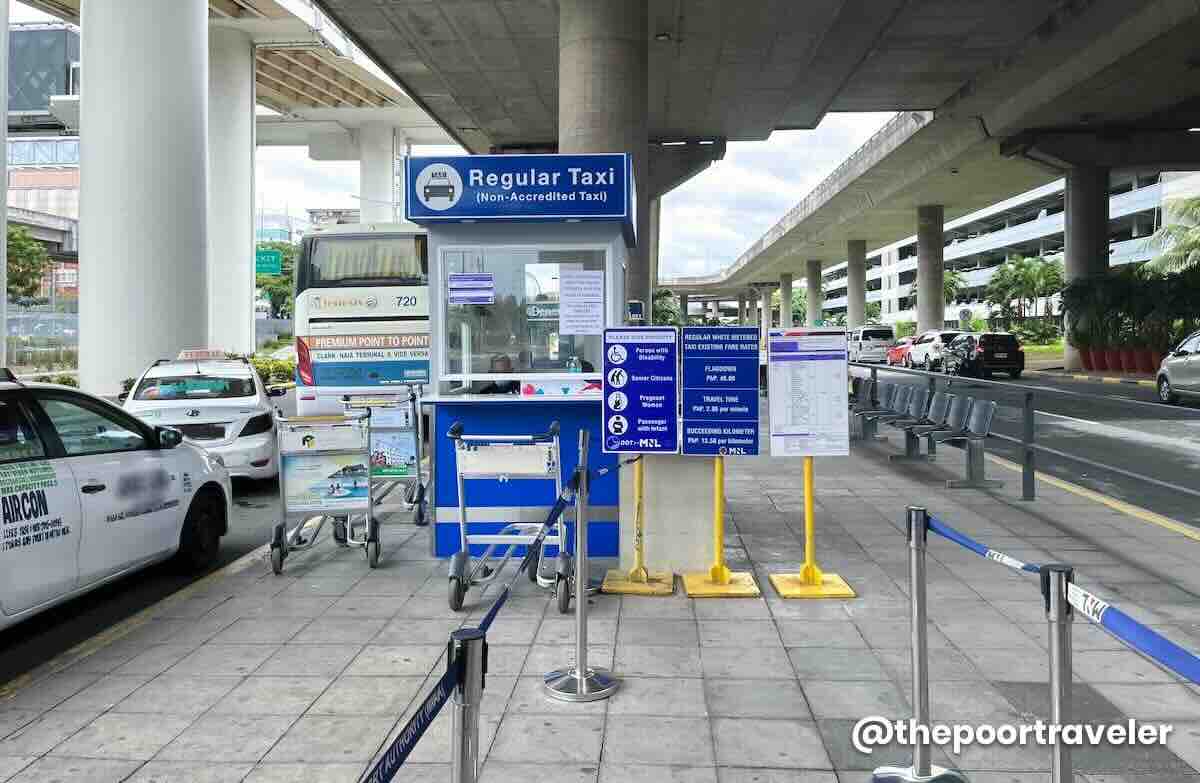
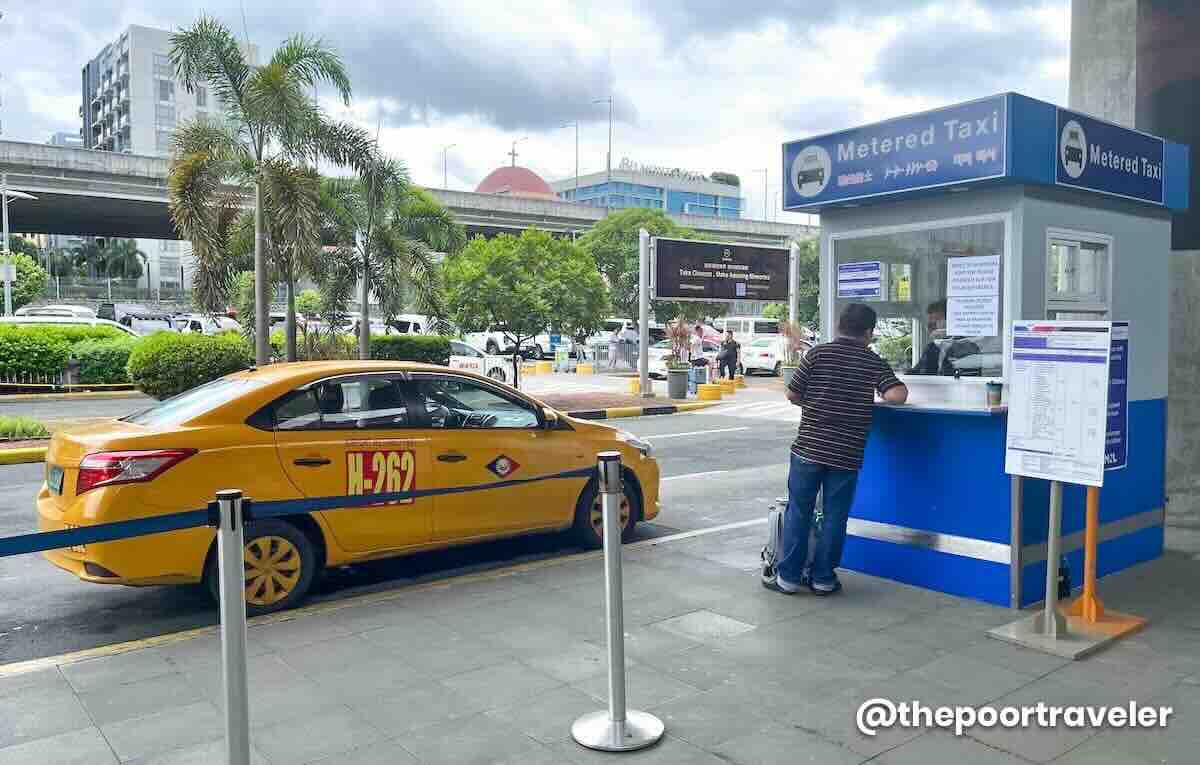
By Taxi
Taxis are available at all terminals, but I don’t really recommend this. I haven’t tried regular cabs or airport cabs in a long time because I just get tired of being overcharged.


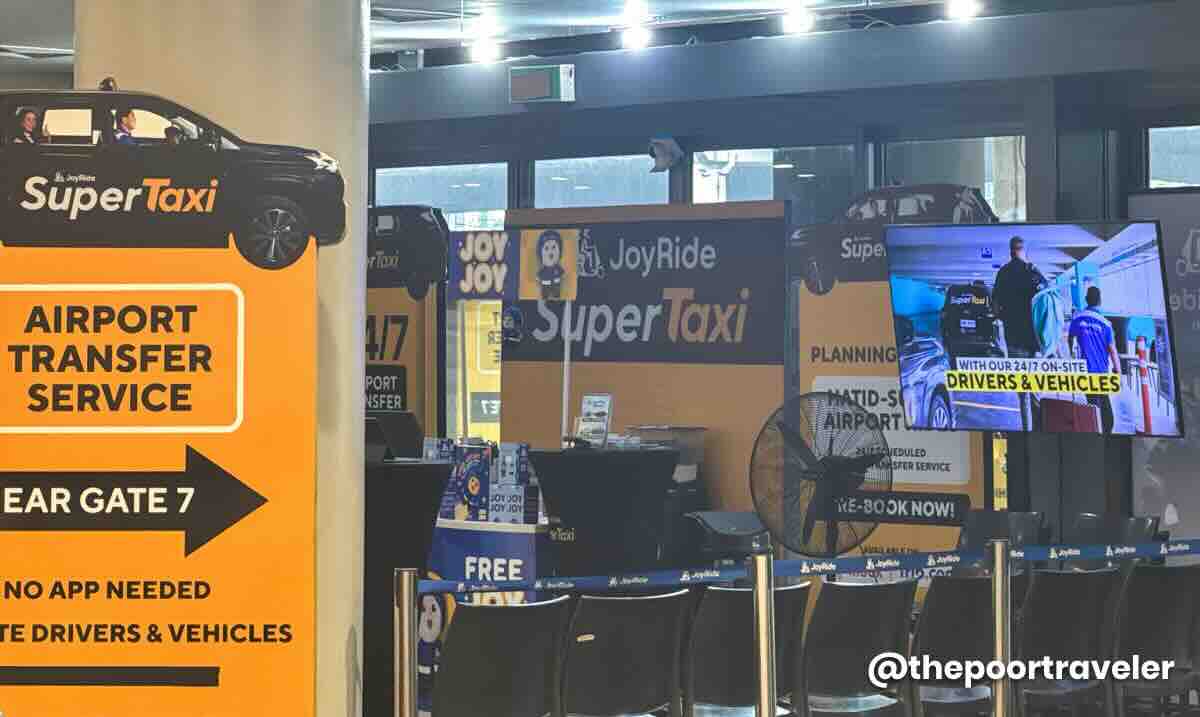
There is a new cab service called JoyRide Super Taxi, which you can book on site, but I haven’t tried it either.

What I usually take is Grab.
By Grab
Grab is Southeast Asia’s version of Uber. Just download the app, register for an account, and start using it. You can pay by card or cash.

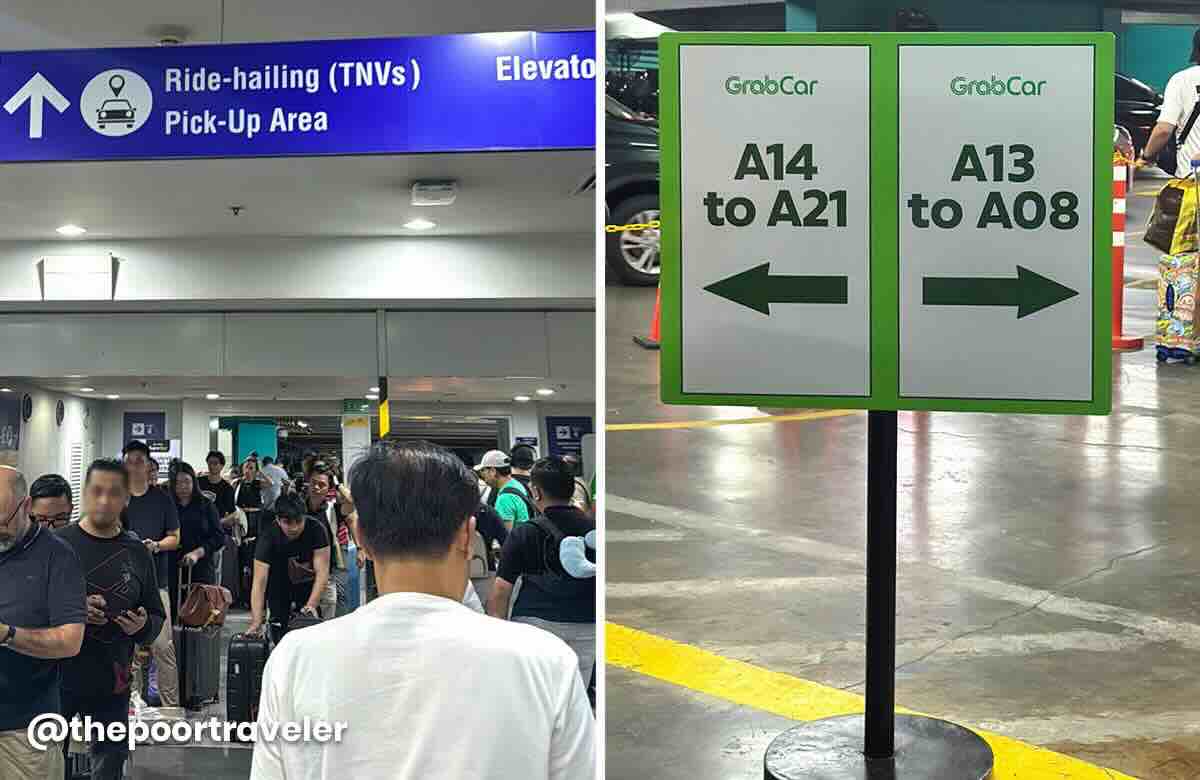
At the Arrival Hall, just follow the signs to the Ride-Hailing Pickup point outside, and wait for your ride. That’s it!
But what if Manila isn’t your final destination? What if you have to catch another flight?
CONNECTING FLIGHTS
First of all, if you haven’t booked your flights yet and you plan to connect at NAIA, make sure you have plenty of layover time. Give yourself a lot of time allowance because delays are common, and the terminals are not close to each other. This is especially true if both your flights are on separate bookings or itineraries or with different PNR (Passenger Name Record).

If both flights are in a SINGLE booking
Or with only one PNR or booking code (example: both legs are booked with the same airline or two airlines with a code-sharing agreement), and your bags are checked through to the final destination (meaning, you were told by the staff that you will be picking up your luggage at your final destination), do this instead:
- Follow the “Transfers” signs instead of Arrivals. Sometimes, if your next flight is already boarding, you’ll see airline staff waiting for you, and they will guide you through.
- If you weren’t given the boarding pass for your next flight at the airport of origin, you can get it from the transfer desk. Otherwise, proceed to the security check, then proceed to your assigned gate.
If both flights are in SEPARATE bookings
- Follow the steps 1-4 that I shared with you in the previous section. Basically, go through Immigration and pick up your bags.
- Then, if your next flight is at the same terminal, go up to the Departures level, check in your bags, and clear security checks again.
If your next flight is international, you’ll need to go through Immigration check, too. Then wait for your next flight at the assigned boarding gate.
Again, that is assuming you don’t need to transfer to another terminal. But if you do…
If you need to transfer to another NAIA terminal
There may be free transfers between terminals on the airside so you won’t need to clear Immigration and check in your bags again. I said “MAY BE” because I haven’t really experienced connecting on the airside.
What I’m positive of is, there is a FREE inter-terminal shuttle service on the landside, or after clearing Immigration, Customs, and whatnot. Again, it’s free of charge.

If transferring from International to Domestic Flight
- If both flights are booked separately with two different PNR or booking code, you’ll have to follow the steps 1-4 in the previous section.
- Then check in again to your domestic flight.
IMPORTANT! Sometimes, even if it’s under the same PNR, since not all domestic airports in the Philippines have customs, you may be required to still pick up your bags and go through customs at NAIA. Then drop the bags at the transfer desk and they’ll move them to your next domestic flight.
And there you have it. Enjoy your flight and have a safe trip! If you have questions, drop them in the comments section below, and we’ll try to answer them (if we know the answer). Feel free to share your arrival experience at NAIA.
Where to Stay Near NAIA (Manila Airport)
If you’re looking for a hotel or apartment close to the airport, here are some top recommendations on various online booking websites.
🔥🔥🔥 Use AGODATPT for 10% off on select hotels! 🔥🔥🔥
The Poor Traveler readers and followers can now use a special discount code to score 10% discount, up to USD 100 (roughly PHP 5700)! To apply and avail of the promo code, visit AGODATPT Promo Code.


- Belmont Hotel Manila. Check Rates & Availability! ✅
- Holiday Inn Express Manila Newport City. Check Rates & Availability! ✅
- Hilton Manila. Check Rates & Availability! ✅
- Manila Marriott Hotel. Check Rates & Availability! ✅
- Sheraton Manila Hotel. Check Rates & Availability! ✅
- One Palm Tree Condo. Check Rates & Availability! ✅
- Eigthy One Building C53J Condotel. Check Rates & Availability! ✅
- Sarasota Residential Resort Manila. Check Rates & Availability! ✅
Search for more Manila Hotels!

Updates Log
2026 3 25 – First up
Edited by: Asta Alvarez
