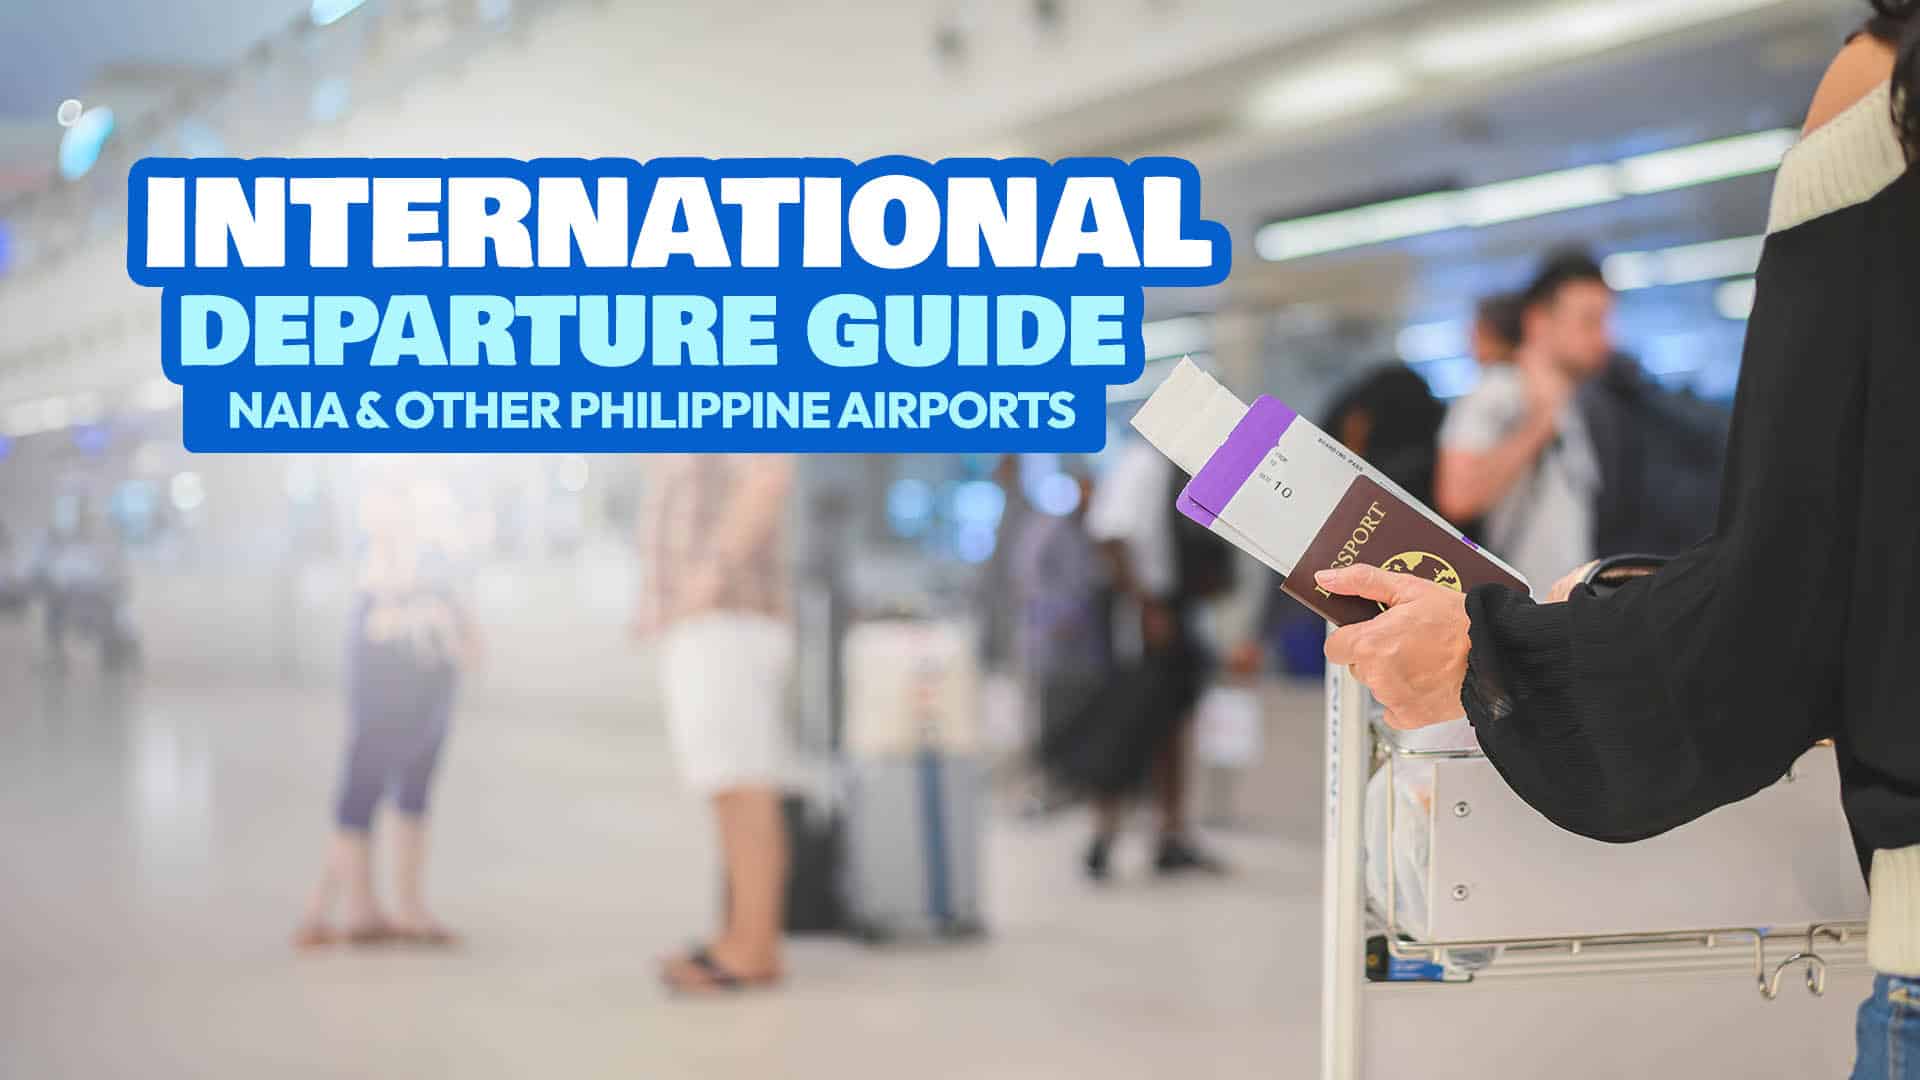
Flying international for the first time? Here’s the entire departure process. Although the title specifically names the Ninoy Aquino International Airport (NAIA), this also applies to any other international airport in the Philippines. We’ll also be highlighting the travel requirements you need to present every step of the way.


The idea of traveling abroad can be nerve-wracking especially for first timers. The airport process alone can be pretty overwhelming for the uninitiated. There seems to be a lot of steps, a lot of queuing, and a lot of documents that you need to prepare in advance. But don’t worry, in this article, we’ll take you through the entire process, from the pre-departure preparations all the way to boarding the aircraft.
1. Accomplish the eTravel form.
What is the eTravel form? It is a government-mandated electronic form that collects your personal and travel information for Immigration record. By completing this form, you’re telling the government where you are going, what you’ll be doing in your destination, and when you are coming back. It is the digital replacement of the paper Immigration departure card.
You must fill out the e-Travel form online as early as 72 hours (3 days) before your departure time through any of the following:
- the official eTravel website: etravel.gov.ph
- the official eGovPH app: Android, iOS (Apple)
You can do this up to 3 days (72 hours) before your flight. I usually accomplish this on my way to the airport.
If it’s your first time, you’ll have to create an account first using a valid email address. Once you have an account, you can add a trip and enter your travel details.
We have a more detailed step-by-step gude here: HOW TO ACCOMPLISH eTRAVEL FORM!
This is required for departing Filipinos. Some would say that they weren’t asked to present this. It’s true. But that’s because Immigration Officers can see in their system if a passenger has accomplished an eTravel form or not. If they see that the passenger has done it, they don’t ask them for it anymore. If they don’t find the passenger’s eTravel, they will ask them to step aside and do one at the tablet area nearby.
Note that the Philippines isn’t the only country implementing a digital border control form. Singapore and Japan have something similar, too.
2. Make your way to the right airport terminal.
Most international airports outside Manila have just one terminal, so it’s pretty straightforward. But Manila’s Ninoy Aquino International Airport has four: Terminals 1, 2, 3, and 4.
How to determine which terminal you should go to? Check your booking confirmation. It’s usually indicated there. But to be absolutely certain, you can contact the airline or try checking in online.
Upon entering the airport terminal, the guard will ask to see the following documents:
- passport
- booking confirmation
Only passengers are allowed at the Departure Hall, where the check-in counters are located. At Terminals 1 and 2, if you’re not a passenger, the guard won’t let you in.
At Terminal 3, although the Departure Hall is largely for passengers only, some parts are accessible for non-passengers and well-wishers. The “mall area”, which is occupied by a wide selection of restaurants and shops, is also open to non-passengers.
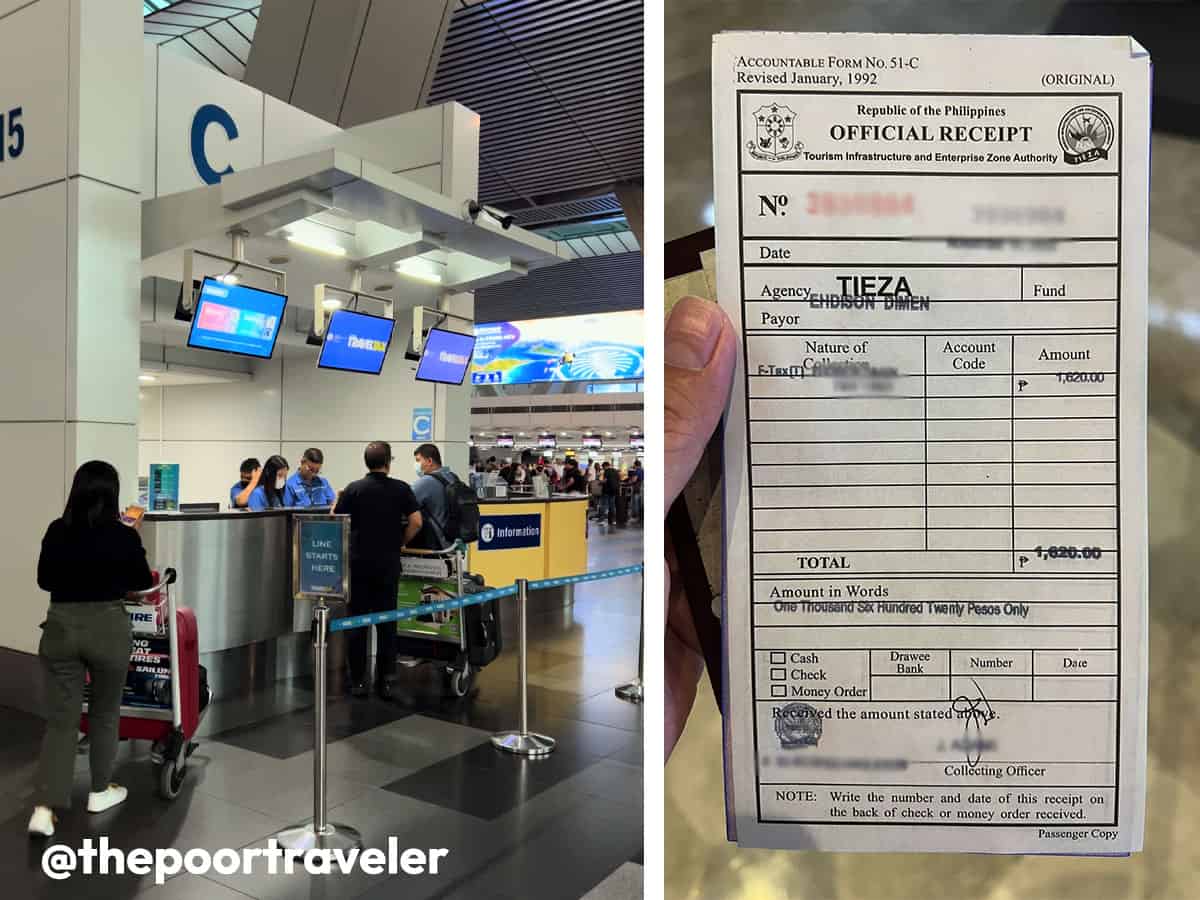
3. Pay the travel tax.
Once inside, find the TIEZA counter to settle the travel tax. This is the levy imposed by the government on Filipino travelers exiting the Philippines.
Here are the rates:
- Economy-class passengers: PHP 1620
- First-class passengers: PHP 2700
Note that not all travelers are required to pay this. Some are eligible for a reduced or discounted rate or full exemption. To check if you’re qualified, visit this page first: TRAVEL TAX EXEMPTION & DISCOUNT!
If you’re a group/family, a representative can do this step alone to avoid crowding.
After payment, you’ll be given two (2) copies of the TIEZA receipt. The original copy is yours; you can keep it. The duplicate copy must be submitted to the check in agent later on.
But before you pay, check if the travel tax is already paid for when you booked your flight. Some airlines — usually legacy carriers — automatically include this upon booking. To be sure, check the breakdown of payment in your booking confirmation or ticket. Look for PH TAX amounting to PHP 1620 or the equivalent in another currency.
- If it’s already included, no need to approach the TIEZA counter to pay again. Skip this step and head straight to the check in counters.
- If you can’t confirm that it’s already paid for, don’t pay yet lest you be charged twice. Instead, skip this step and queue up at the check in counters for now.
4. Check in for your flight or drop bags.
On the flight info board or screen, find the check in counters to your flight. These screens are located in the middle of the departure hall for NAIA Terminals 1 and 2. At NAIA Terminal 3, you’ll find multiple screens near the entrance gates.
Proceed to the assigned check in counter and fall in line. Business-class passengers have their own queue, while economy-class passengers have two choices:
- Online check-in or Bag Drop: This is for economy passengers who have already checked in online. This queue tends to be shorter and move much quicker. It’s sometimes labeled “bag drop” because if you’ve already checked in online, all you’re checking in at this point is your luggage.
- Regular check-in: This is for economy passengers who didn’t check in online. This queue is often much longer and slower.
Once you reach the counter, present your passport and visa (if applicable). If you’re a group or family, everyone has to be present. The check-in agent will check and match the passport to the passenger. Then, they will instruct you to put your bags on the weighing scale one by one.
Make sure you’re familiar with the baggage policy. The agent will ask you questions about the content of your bags. It’s a lot more complicated but in a nutshell:
- Dangerous, flammable, and corrosive items are prohibited.
- Gadgets with batteries are not allowed for check-in and must be hand-carried (carry-on).
- Liquids in 100ml containers or smaller are allowed for check-in and hand-carry.
- Liquids in containers larger than 100ml must be checked in.
Once all bags have been checked in, the agent will check the system if your travel tax had been settled.
- If travel tax is already included in your flight booking, you’ll be handed a boarding pass right away.
- If travel tax is not yet paid, the check in agent will ask for your TIEZA official receipt. If you have it already, just hand it over. If you don’t have one yet, you’ll be instructed to proceed to the travel tax counter, pay, and then come back to them to receive your boarding pass. Don’t worry, you won’t need to queue up all over again. Once you’ve settled the tax, just go back straight to the agent that checked you in and hand her your receipt.
Once everything is in order, the check-in agent will give you a boarding pass.
5. Clear Immigration inspection.
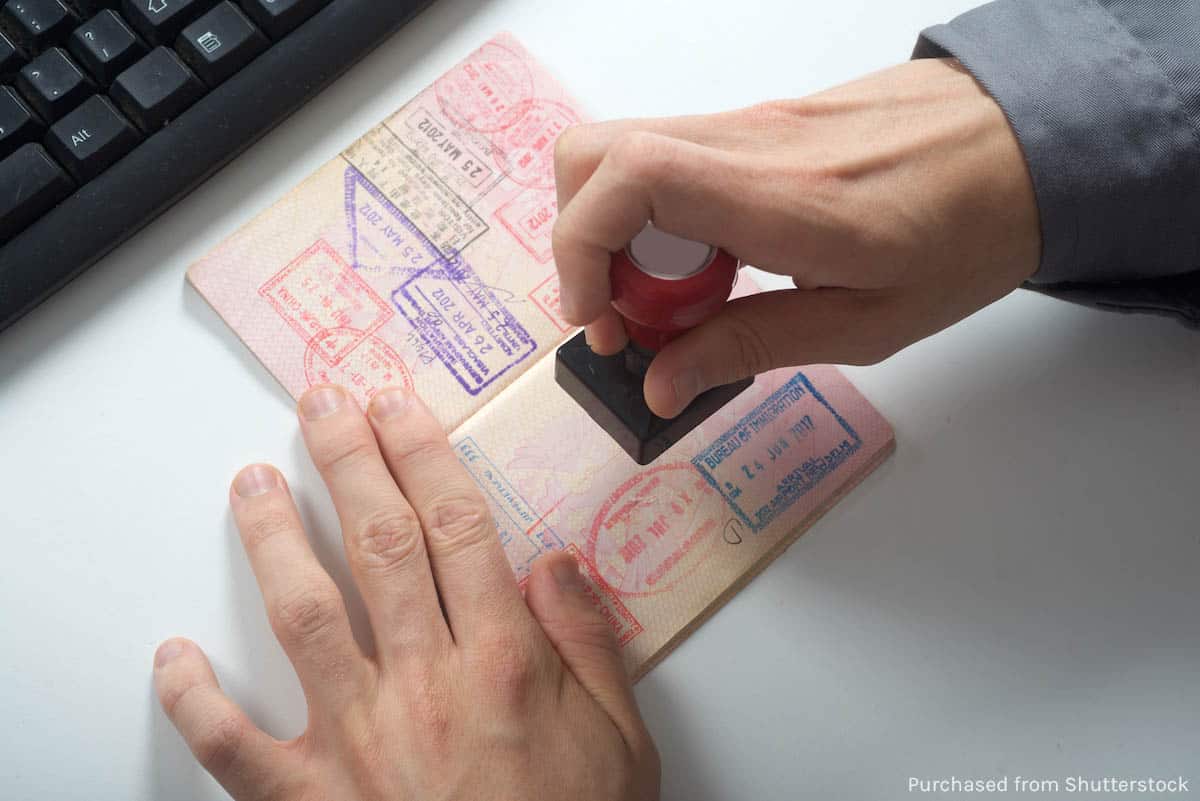
Upon entry to the Immigration Area, the staff will check your passport and boarding pass. Then, fall in line again.
If you’re pregnant, senior or PWD or traveling with one, there is a dedicated priority lane. Only one companion is allowed.
When it’s your turn, approach the Immigration counter and hand over your passport and boarding pass. If your destination requires a visa, the officer will also ask to see it.
The officer will also ask you to step back a little and face the camera as they take a photo of you. While all this is happening, they can ask you questions about your background and your trip.
Some of the usual questions are:
- Where are you going? Tell the officer your destination country.
- What’s the purpose of your trip? Leisure/vacation, business, visiting someone?
- When are you coming back to the Philippines? Make sure you know your return date.
But if it’s your first time traveling abroad, it’s likely that they ask more, including:
- What’s your occupation in the Philippines? You may be asked for proof of your answer such as company ID or Certificate of Employment for employees or business registration documents for self-employed travelers. If you’re a government employee, you must have a Travel Authority with you.
- Who is funding your trip?
– If it’s self-funded, you may be asked to present proof that you could financially support the trip. This is why some travelers bring a bank certificate. One of my teammates was asked to open her banking app on the spot.
– If someone else is paying for your trip in any way, you may be required to submit an Affidavit of Support and Guarantee (AOSG) and proof of relationship with the sponsor.
⚠️ REMINDER: Approach the Immigration counter one at a time. You will be evaluated individually. That said, in my experience traveling with my teenage nephew and senior mother, there have been several instances when the officer asked me to join in and they processed us at the same time. But by default, you should approach the counter individually.
If you’re worried about your dependent, let them go first. Anyone who makes it past the counters is NOT ALLOWED to go back or wait and linger at the nearby areas. If you let your dependents go first, you can stay in line and assist them should they need anything from you.
This whole immigration process is so nuanced and complicated, it deserves its own article. We’ll write more detailed articles about it soon, but for now, you may refer to these posts:
✅ HOW TO AVOID GETTING OFFLOADED
✅ SHOW MONEY: EVERYTHING YOU NEED TO KNOW
⚠️ Taking photos and recording videos are strictly prohibited. This policy is not exclusive to the Philippines. All countries I’ve been to have this rule.
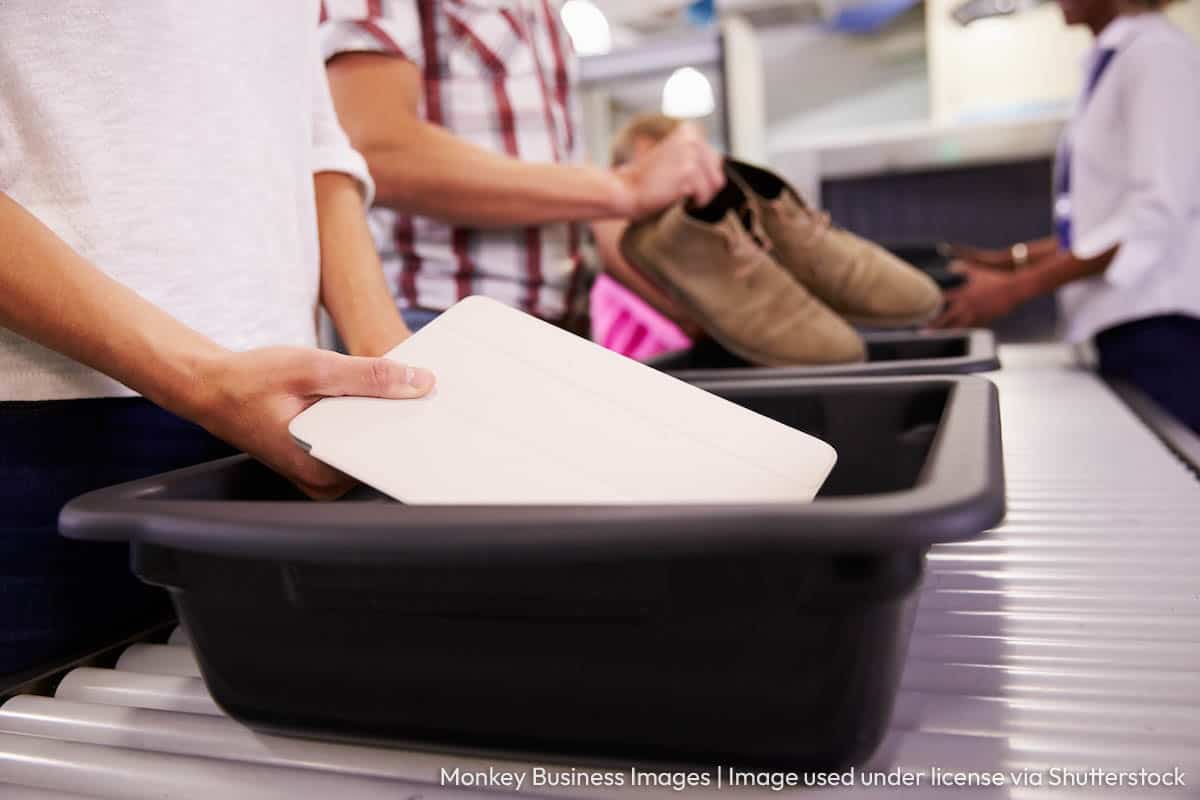
6. Go through Security Check.
Immediately after clearing Immigration checks, proceed to the security check area. There’s a good chance you’ll be lining up here again. While waiting for your turn, prepare for a smooth inspection.
- Take your laptop out of your bag.
- Empty your pockets and put them in your bag.
- Remove your belt.
- Remove your shoes, when required. (This is not implemented all the time.)
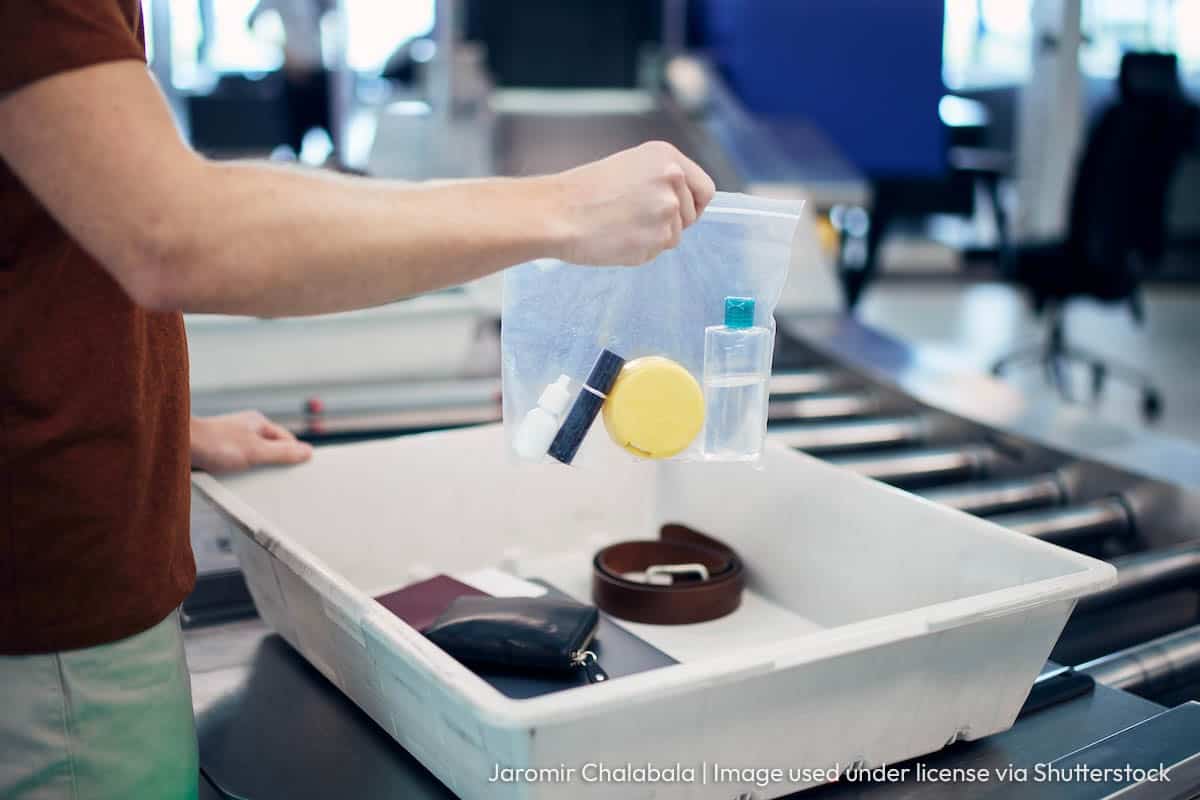
Liquids are only allowed in 100ml containers or smaller. Otherwise, they may be confiscated.
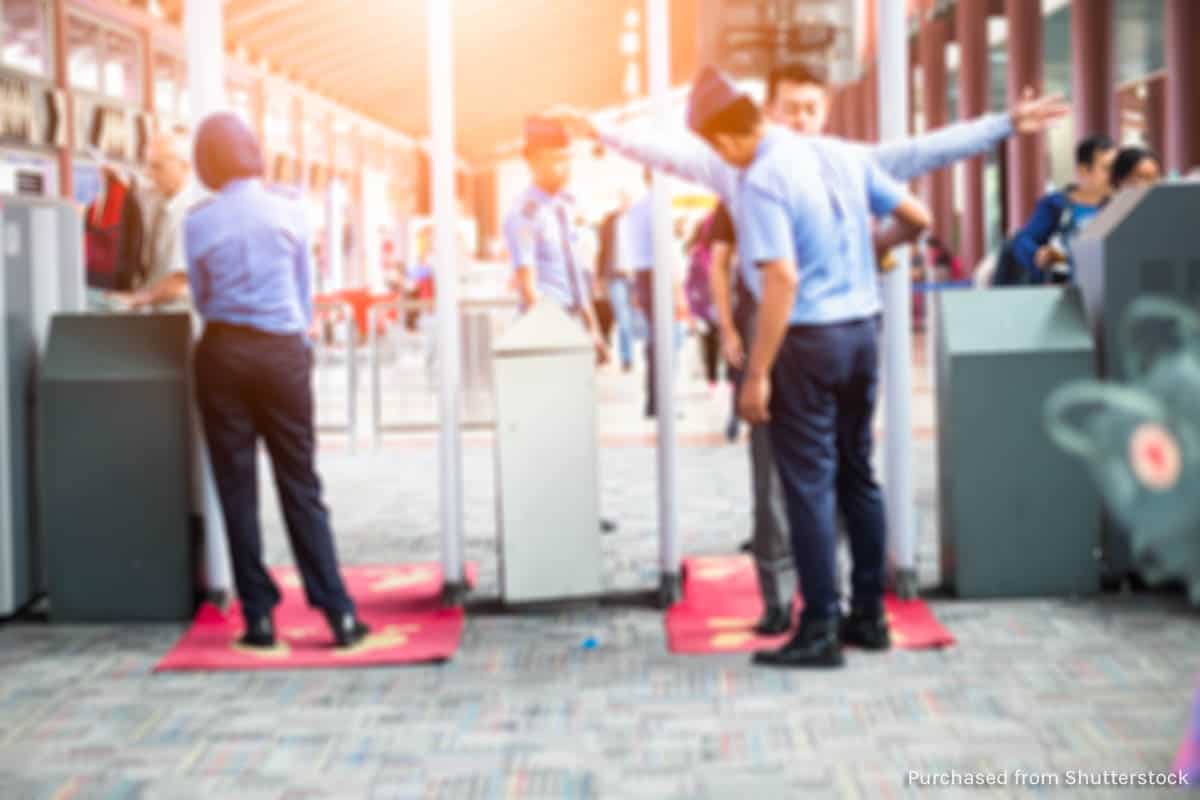
Put your belongings on a tray and let it pass through the x-ray machine. You’ll also need to walk through the body scanner. If it makes a beeping sound, the security officer may frisk you.
If every thing is OK, get your bags and other items when they make it to the other side.
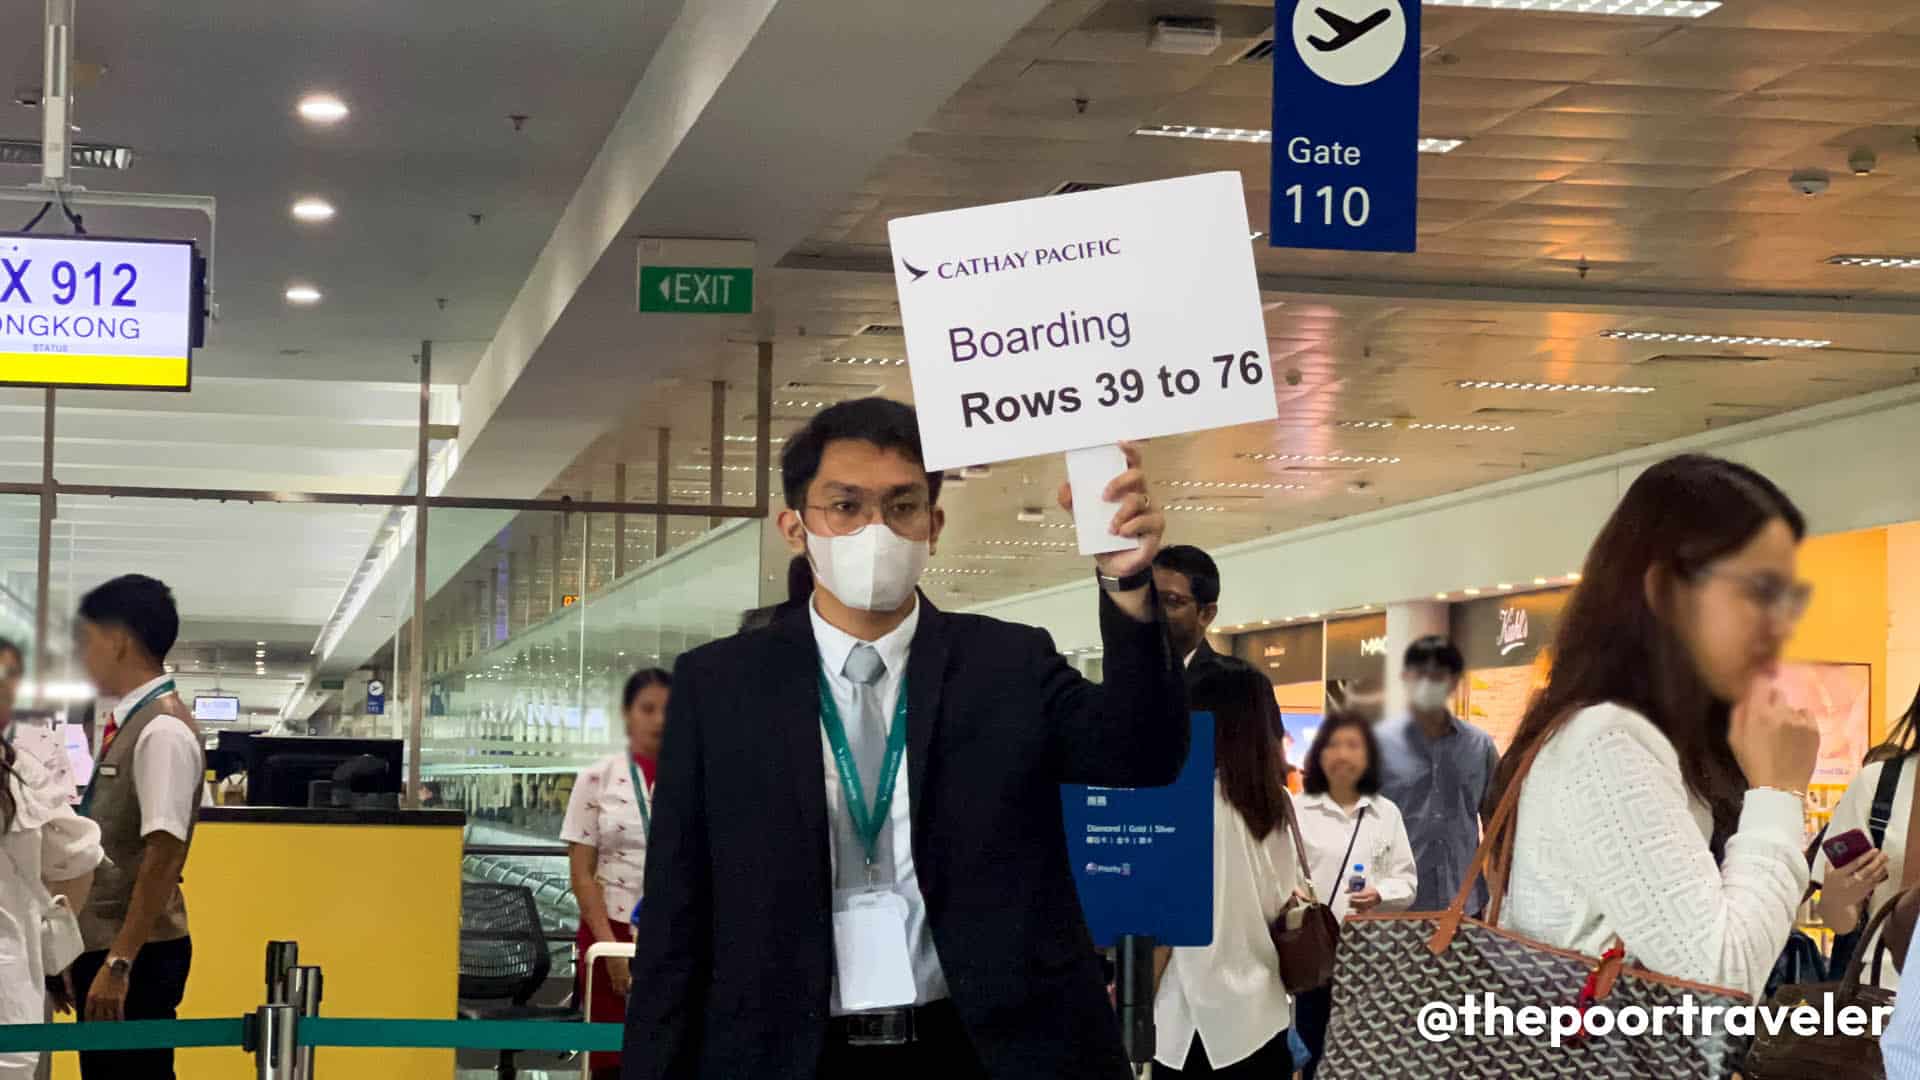
7. Find your gate and wait for boarding.
Beyond the security area, you’ll find shops and restaurants. If you still have time, you can walk around or have a meal/drink. But my recommendation is to find the gate assigned to your flight first.
At this point, it’s best to take another look at your boarding pass. On this piece of paper, you’ll find important details about your flight, including:
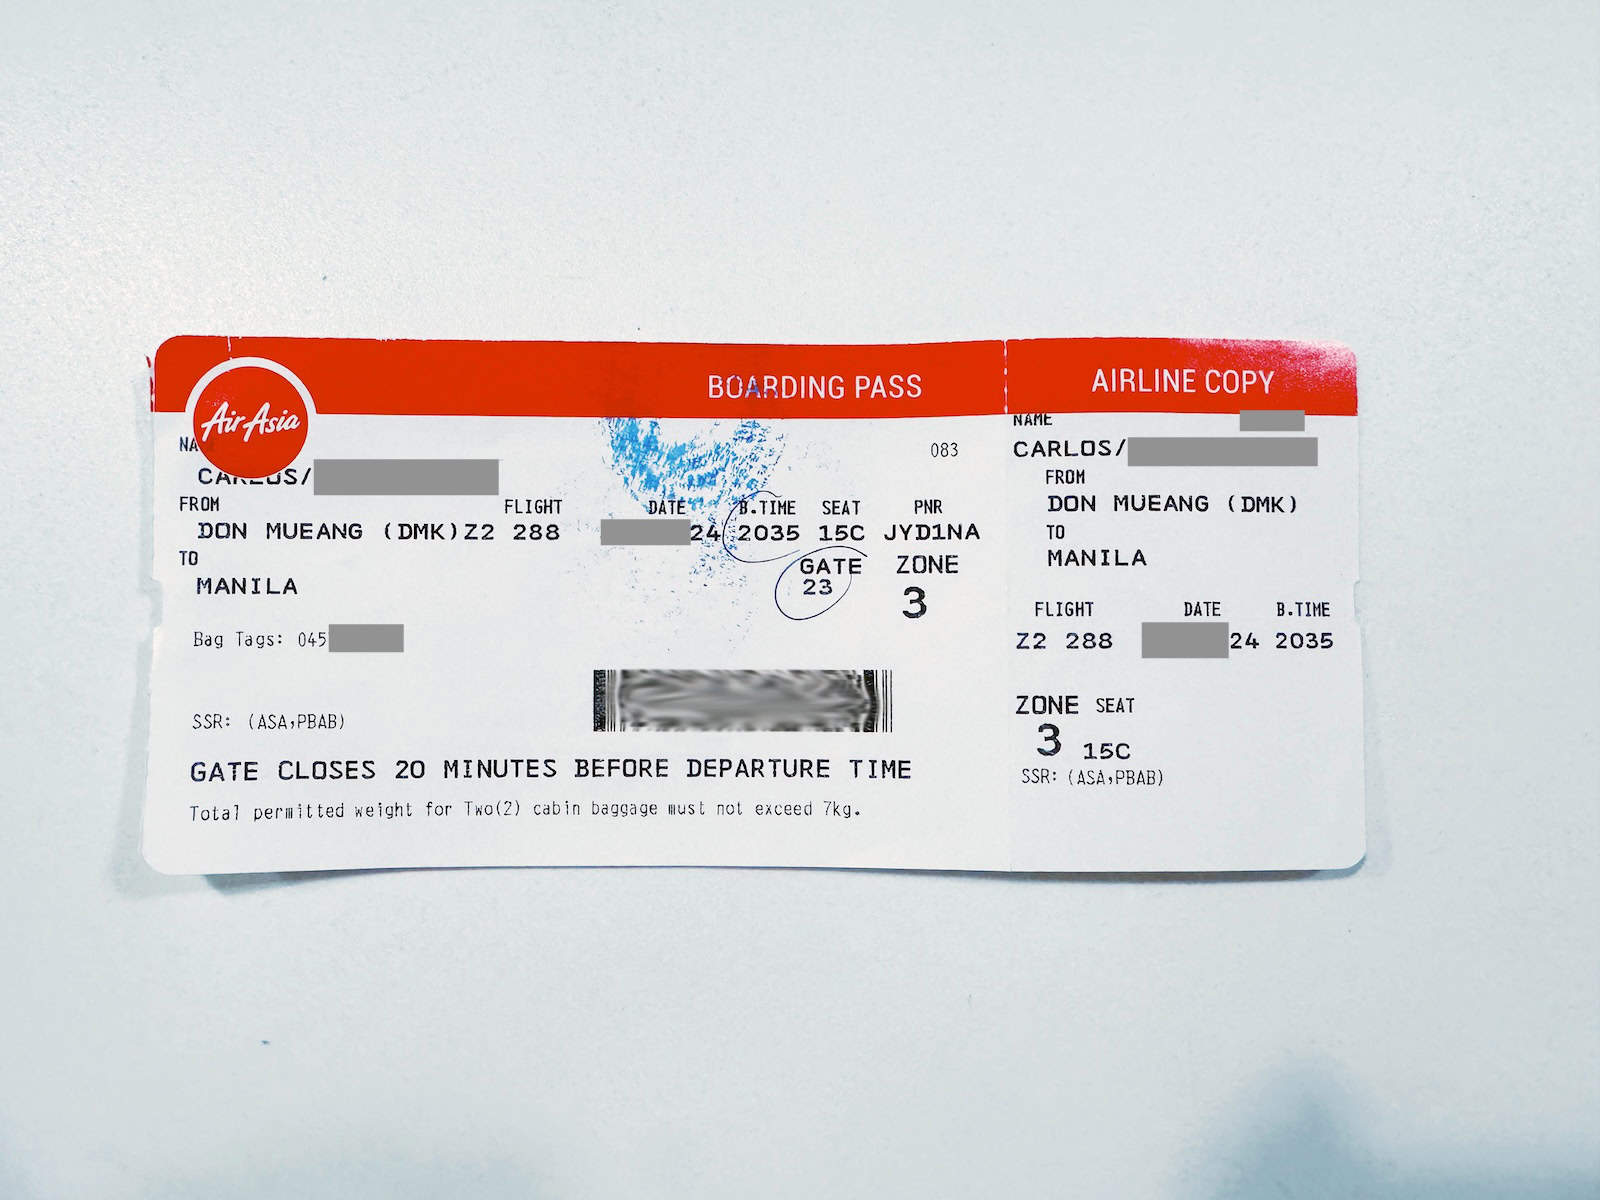
- Gate number. This is the gate that will be used to board your flight.
- Boarding time. You should be at the gate by this time, usually 20-30 minutes before your scheduled departure time.
- Zone number. Airlines usually let passengers board the plane by batch or by zone. Wait for your zone to be called. Sometimes, this is done by row, instead of by zone.
- Seat number. Your assigned seat inside the aircraft.
Pay attention to the flight information screens and announcements. Sometimes, the gate assignment and boarding time change because the flight is delayed or other reasons. In rarer cases, the flight can leave earlier than scheduled. Avoid using your earphones or headset as you might miss these announcements.
8. Board the aircraft.
Once your zone or row is called for boarding, fall in line. The staff will check your passport again and scan your boarding pass.
Inside the aircraft, look for your assigned seat. Your boarding pass indicates your alphanumeric seat number. The number tells you your row and the letter your seat position: aisle, middle, or window. Check the labels on the overhead compartment. Please do not take other passengers’ seats.
If you have a carry-on bag (hand-carry), stow it inside the overhead compartment. You can place your smaller bag under the seat in front of you.
That’s it! Fasten your seatbelt and enjoy your flight.
Where to Stay Near NAIA (Manila Airport)
If you’re looking for a hotel or apartment close to the airport, here are some top recommendations on various online booking websites.

- Belmont Hotel Manila. Check Rates & Availability! ✅
- Holiday Inn Express Manila Newport City. Check Rates & Availability! ✅
- Hilton Manila. Check Rates & Availability! ✅
- Manila Marriott Hotel. Check Rates & Availability! ✅
- Sheraton Manila Hotel. Check Rates & Availability! ✅
- One Palm Tree Condo. Check Rates & Availability! ✅
- Eigthy One Building C53J Condotel. Check Rates & Availability! ✅
- Sarasota Residential Resort Manila. Check Rates & Availability! ✅
Search for more Manila Hotels!

Updates Log
2024 • 5 • 10 – Original publication