
After traveling to almost 50 countries, I now have the confidence to breeze through airport procedures. But I wasn’t always like this. I still vividly remember my first international flight. I stood there at the departure hall of the airport with an overwhelming fear and wide-eyed cluelessness. I was pretty excited, yes, but I was also utterly, incredibly, ridiculously terrified.

You see, at the time, I was unfamiliar with any of the airport processes and didn’t know what to expect. Where should I go first? What is it like to be interviewed by Immigration Officers? What happens when I arrive at the destination airport? What do I do?
For the first years of my travel life, I was always a bundle of nerves at the airport. Thankfully, with every flight, I pick up some tips and tricks, which allow me to be less on the edge and more like a boss. If I could go back in time and give some advice to the rookie-traveler-me to calm down a little bit, these 9 tips would be it.
PRE-TRIP PREPARATIONS
1. Write down passport and flight details on one page.
While you’re still at home, gather your travel documents and write down the following details:
- Passport number
- Passport issue date
- Passport expiry date
- Flight number
- Your hotel’s name or your contact’s name
- Your hotel’s or contact’s complete address and phone number
These are the details that you would often need when filling out forms like Arrival Cards, Departure Cards, and Customs Forms. If you have it on just one page, you don’t need to take out your passport every single time. It doesn’t need to be on a physical paper. You can type it on your phone. Better yet, take a photo of your passport and visa and keep a soft copy of your flight tickets and hotel reservations.

I almost lost my passport twice. Thankfully, the airline staff were able to find it both times. I even lost my nephew’s residence card when I accompanied him on a flight once. That, we didn’t recover. How do I manage to lose extremely important things? It’s because I used to take out my passport to get hard-to-memorize details when filling out immigration forms. Sometimes, when under time pressure, there is that tendency to unintentionally leave things behind.
And oh, don’t forget to bring a pen! Remember, you’ll be filling out forms!
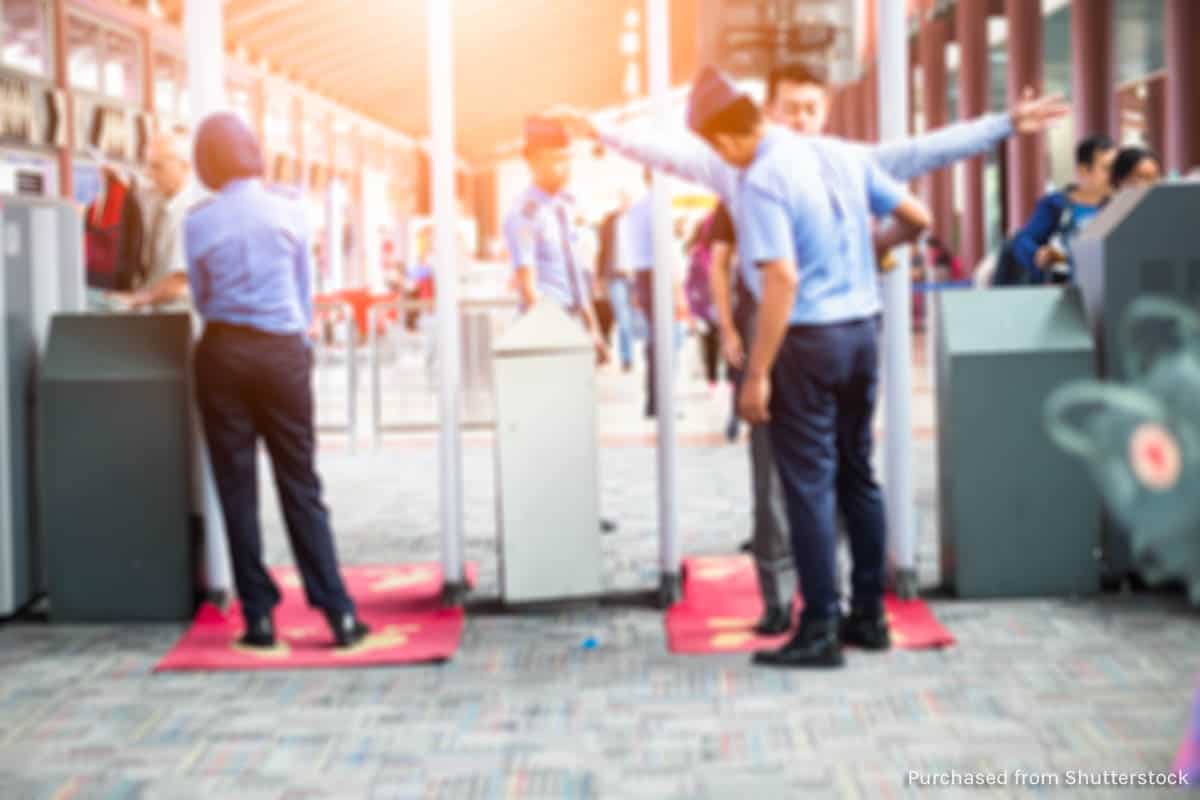
2. Dress for the airport security check.
This is something I have mastered. If you’re the type who gets rattled and holds the line at the security check because you have to remove a lot of things, you might want to prepare for it next time. I usually just breeze through security checks without any issue. Here’s how I do it:
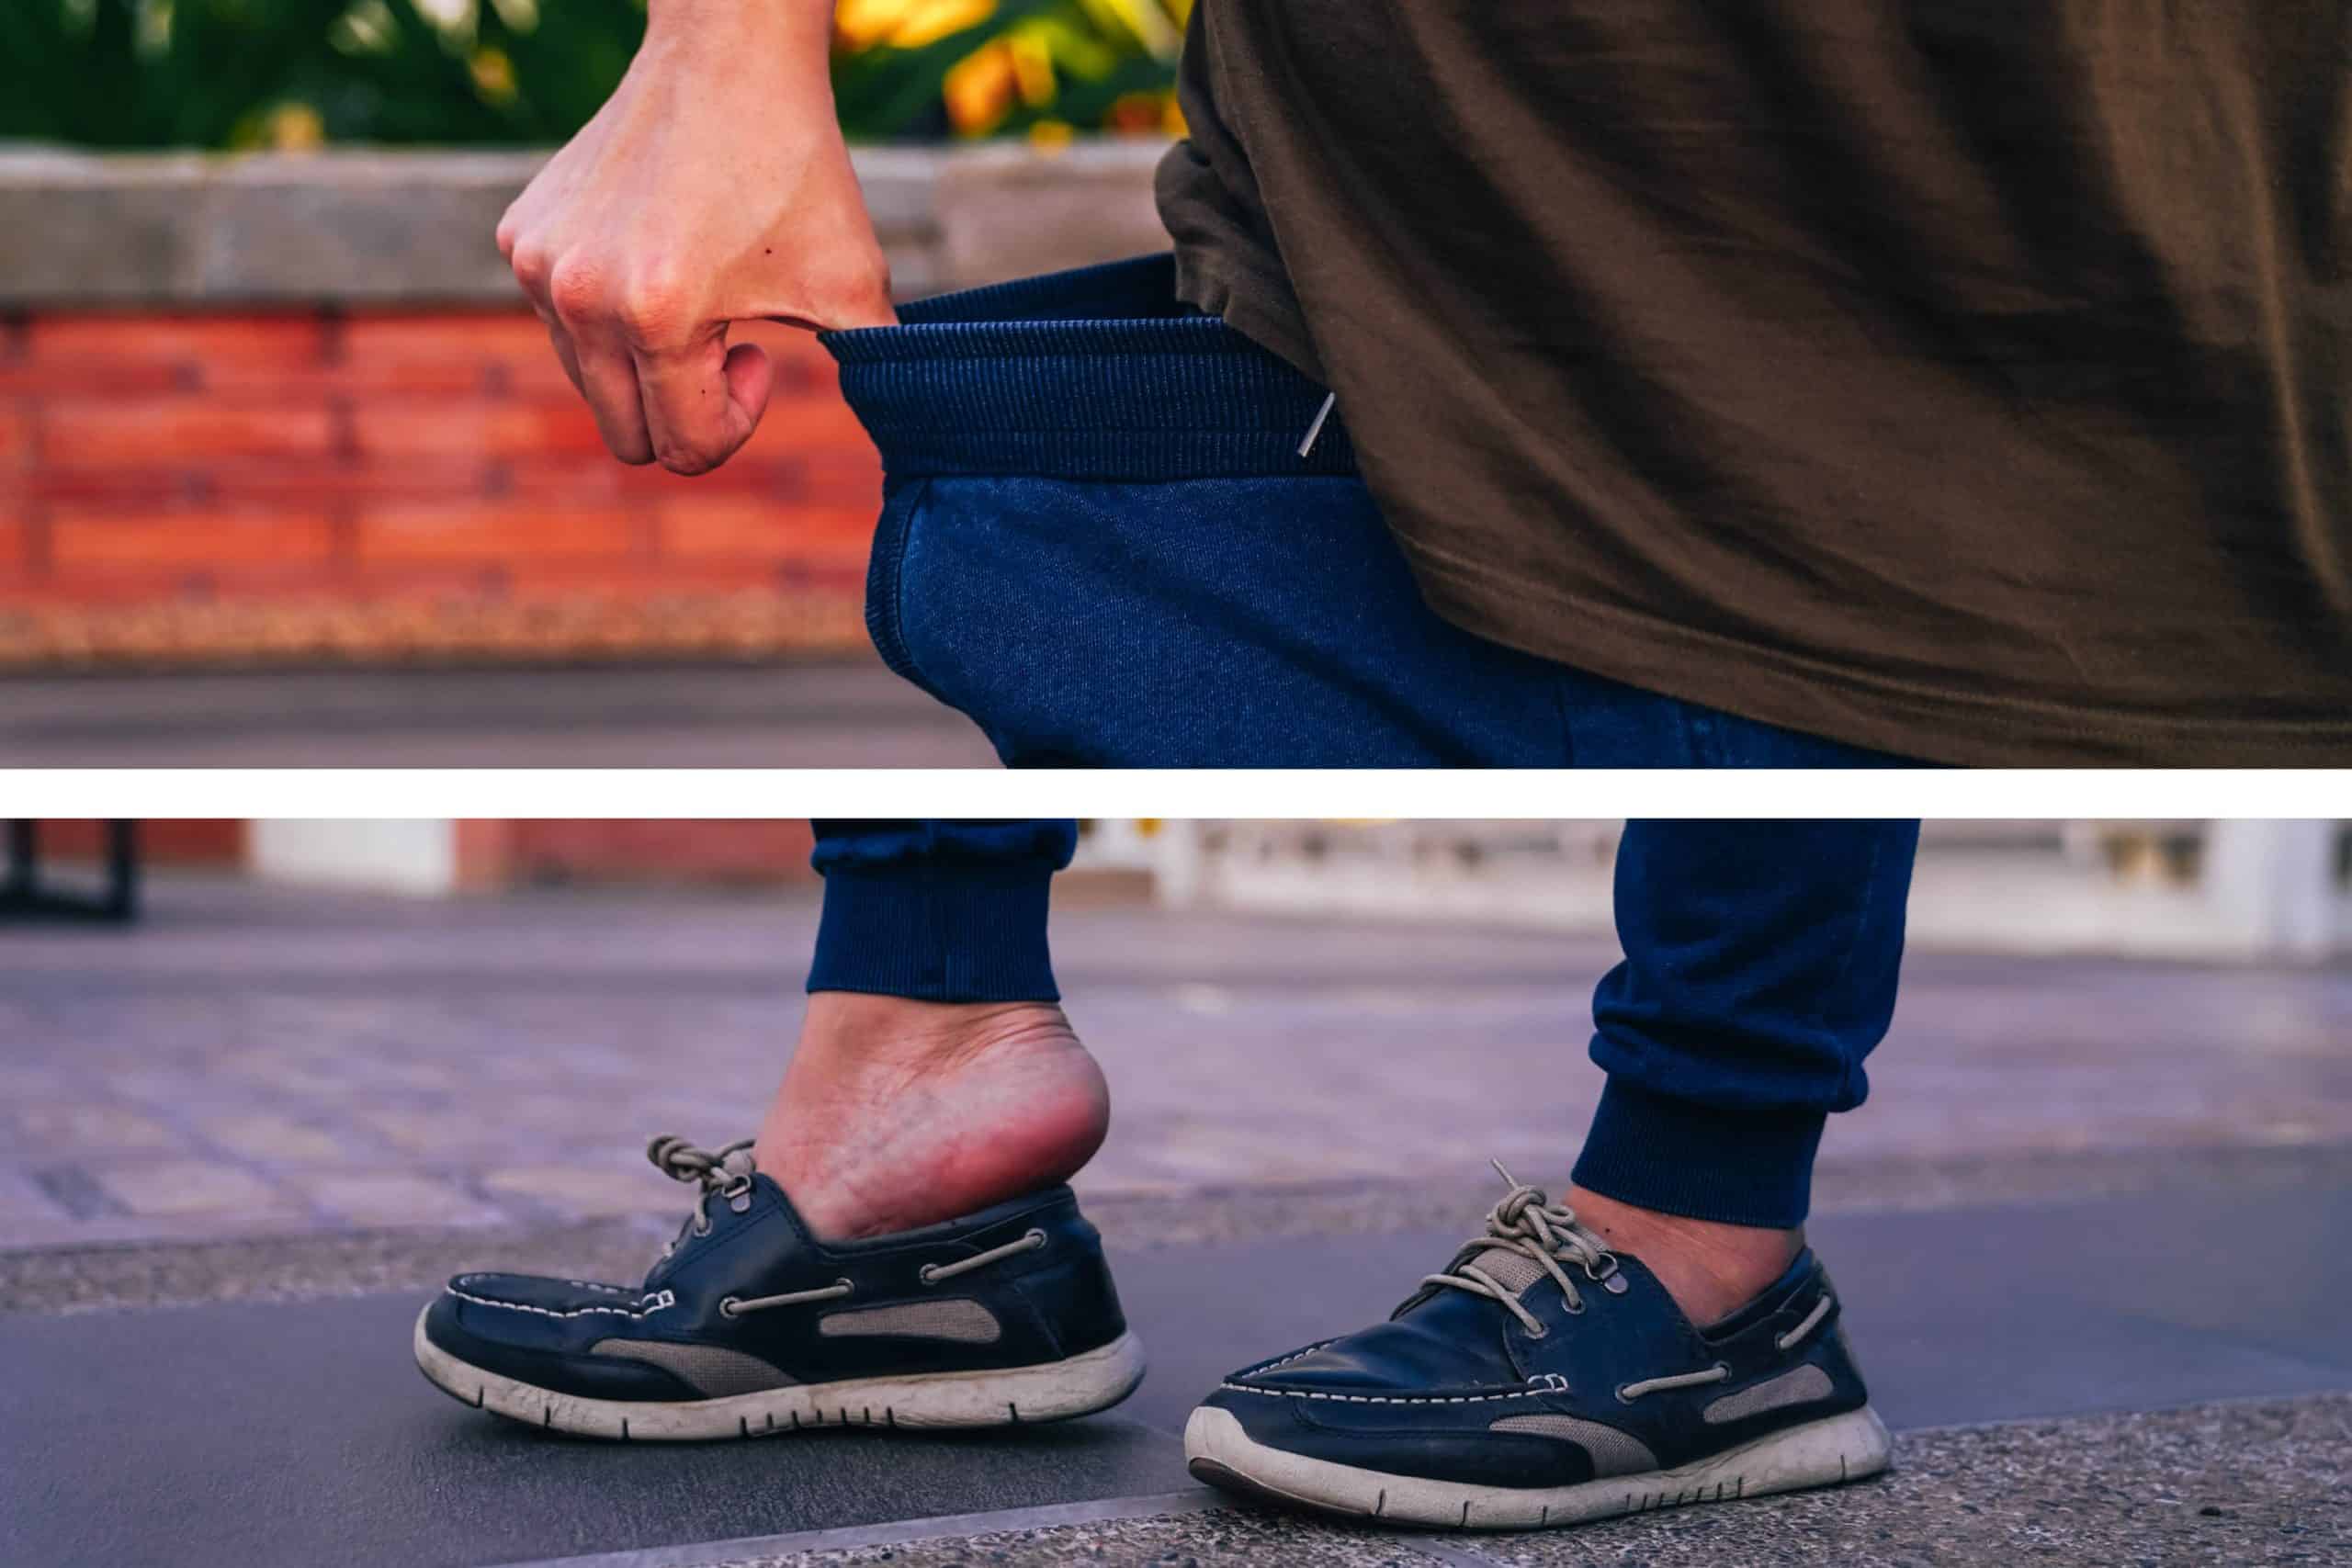
- Invest in a stretchable pair of pants (trousers, shorts). This way, there’s no need for a belt! Remember, you’ll be asked to remove your belt.
- Wear slip-on shoes. Some airports require that you remove them. Some don’t. Don’t wear boots. You’re almost always going to be told to take them off.
- If you must wear a jacket, choose one that you can easily get out of. Or don’t wear one at all if it’s not too cold inside the airport. Sometimes, a sweater will do and you’re unlikely to be asked to remove it.
- Ditch the watch. Put it in your bag and just wear it when you reach you’ve made it through. Jewelry, too.
- Empty your pockets. Leave your coins at home or put them in your bag.
- Take out your laptop while you’re still queueing. Don’t wait until you’re already at the scanners. Note however that not all airports require laptops to be taken out.
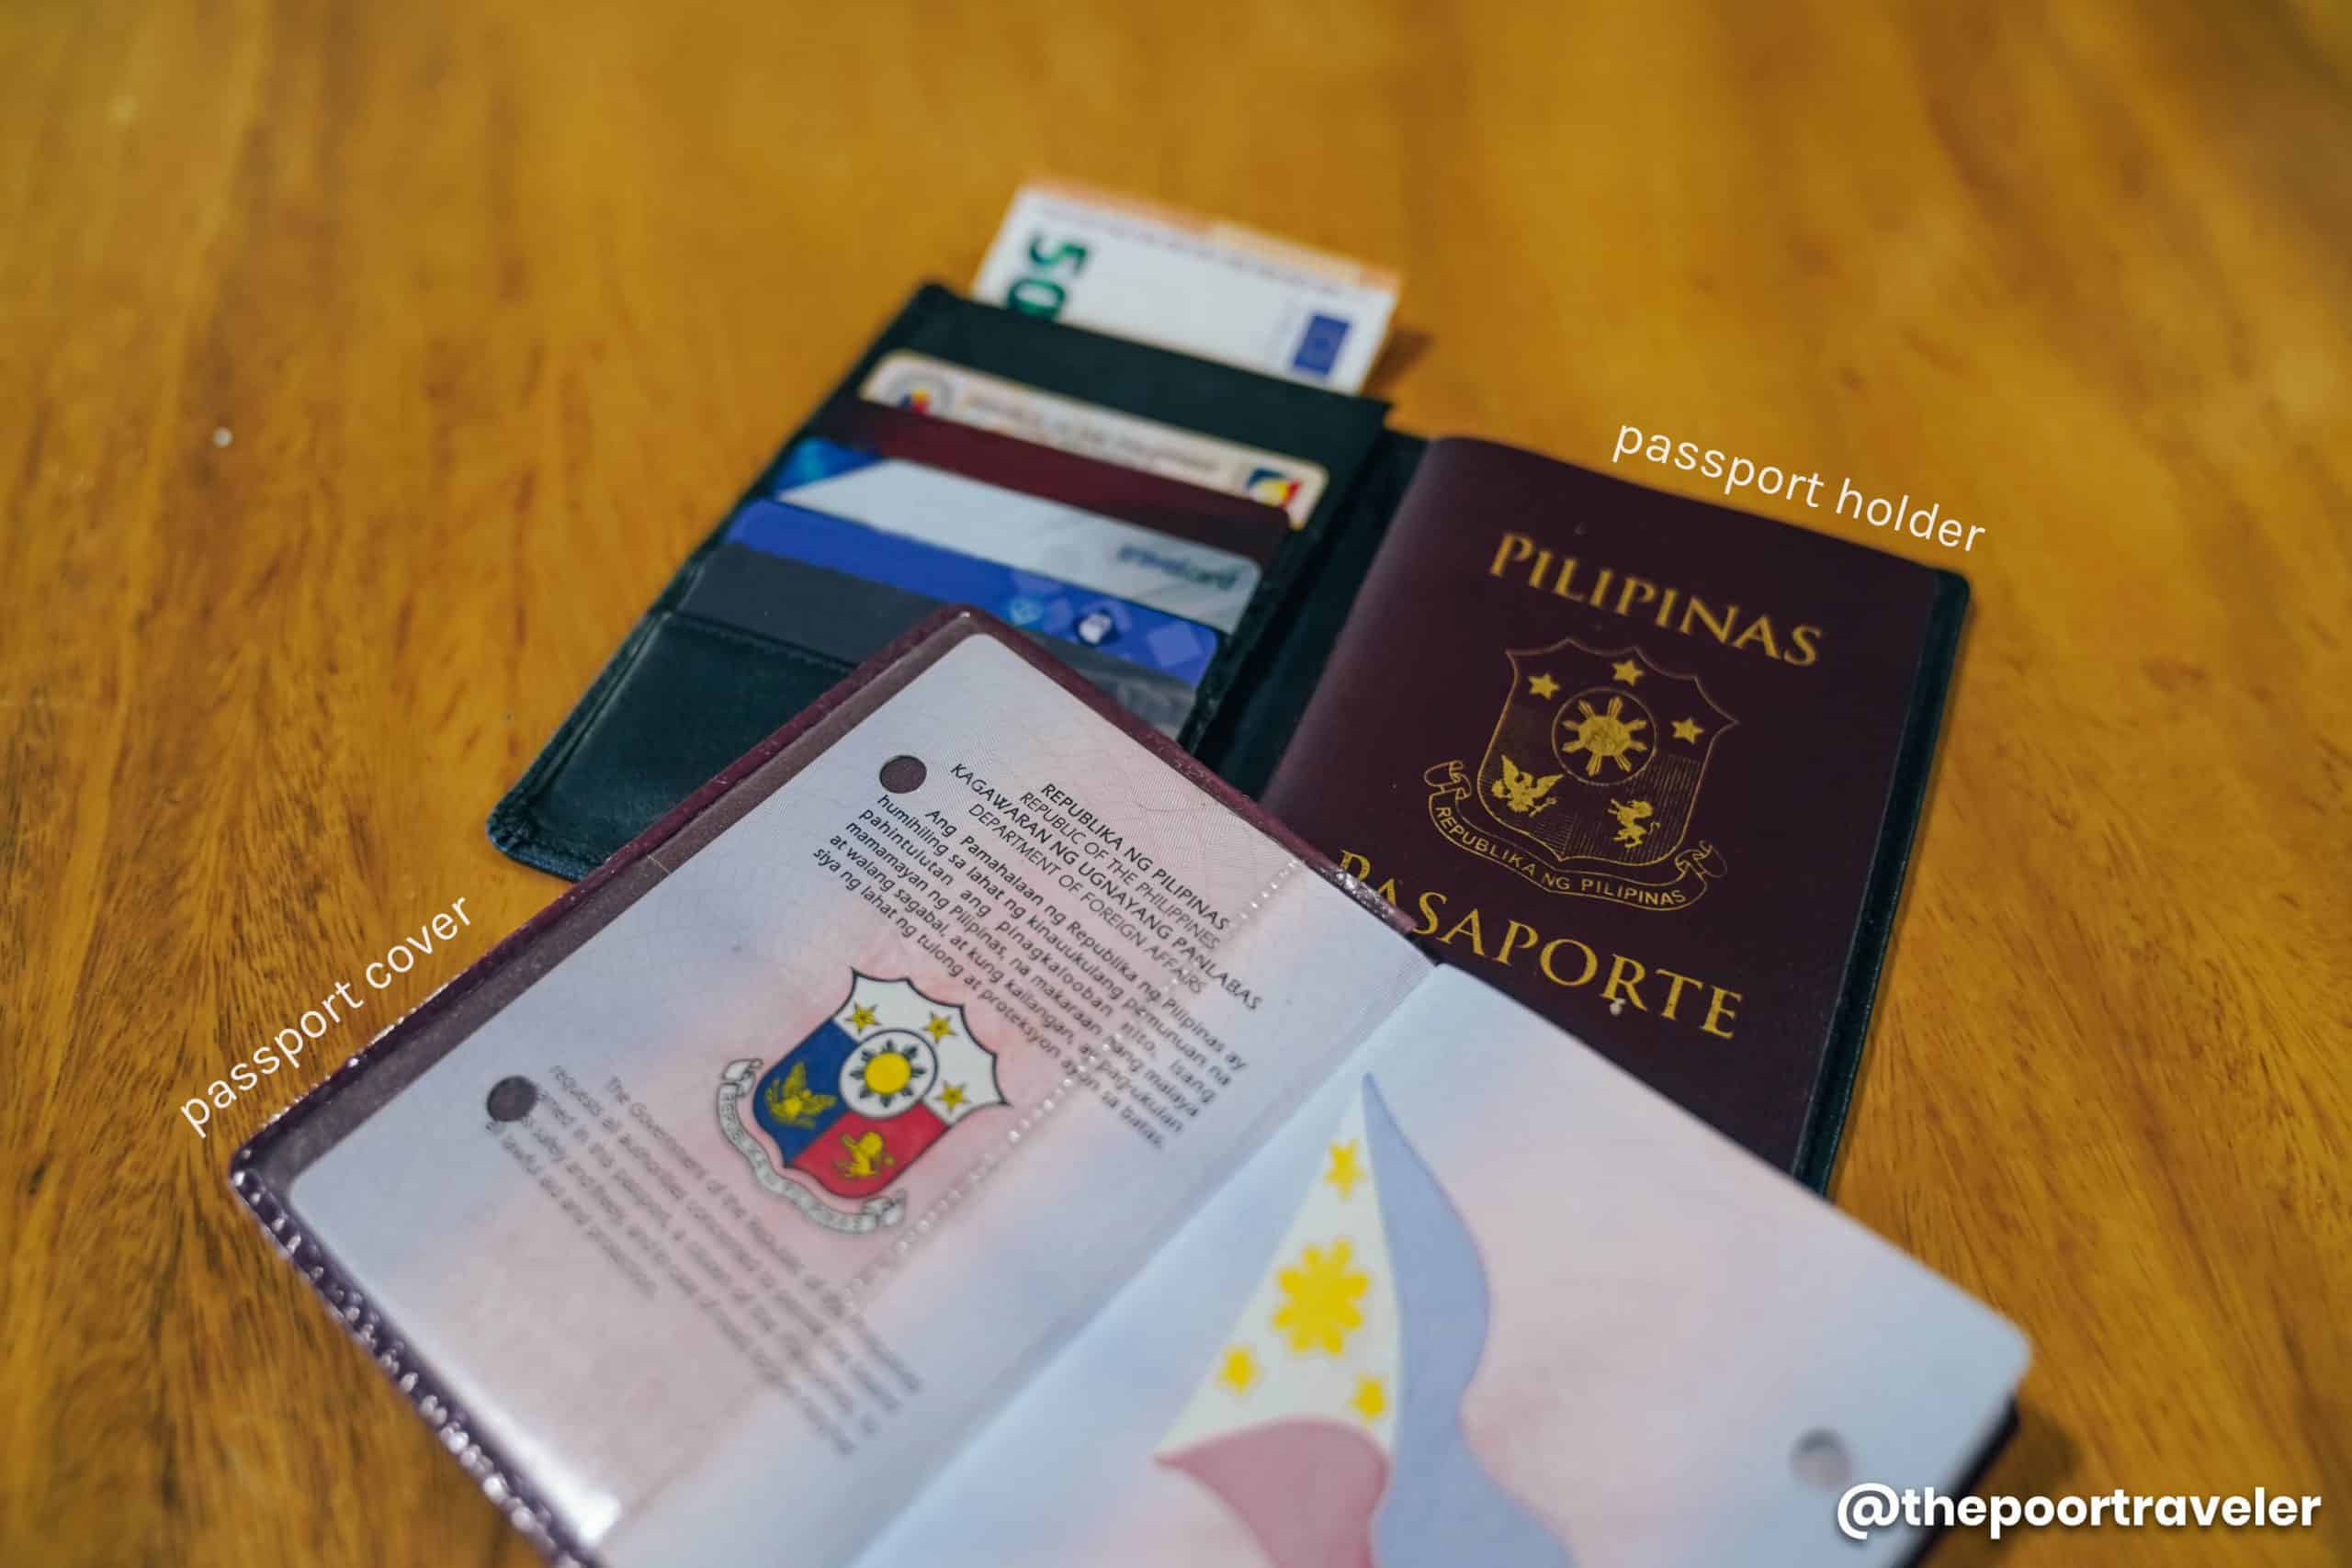
3. Say NO to the passport cover and YES to the passport holder.
Stop using a passport cover. You’ll be asked to remove it at the Immigration counters anyway.
I used to own one. At one point, I almost ripped a page accidentally while trying to get it out of the sleeves. Whew! The horror.
If you want to give your passport some protection, use a passport holder instead. What’s the difference? A passport cover is something that your passport wears. Typically you insert the passport’s hard ends into the pockets, like wearing a jacket. A passport holder is sometimes called a passport wallet because it functions more like a wallet or a purse than a mere cover. It’s usually bigger and some versions can also accommodate some cards or even cash.
A passport holder is more ideal because it’s easier to get the passport out of it than to take the cover off your passport. It also provides better protection from wear and tear. If you drop your passport, the holder can protect the inside pages; the cover cannot. Remember: Your passport is your most essential possession abroad. Lose it or damage it and you’ll be trapped wherever you are.
4. Avail of web check in when you can.
These days, most airlines offer online check in. And if it’s available, go for it. This will significantly speed up your time at the airport. There usually is a separate line for those who already checked in online and it’s often much shorter than the main line.
Worldwide, the trend is really heading in the direction of self-check-in. Some airlines in Europe also require users to check in online and charge a great sum for those who wish to check in the traditional way.
IMMIGRATION CHECK
5. At the Immigration area, choose the line next to closed counters.
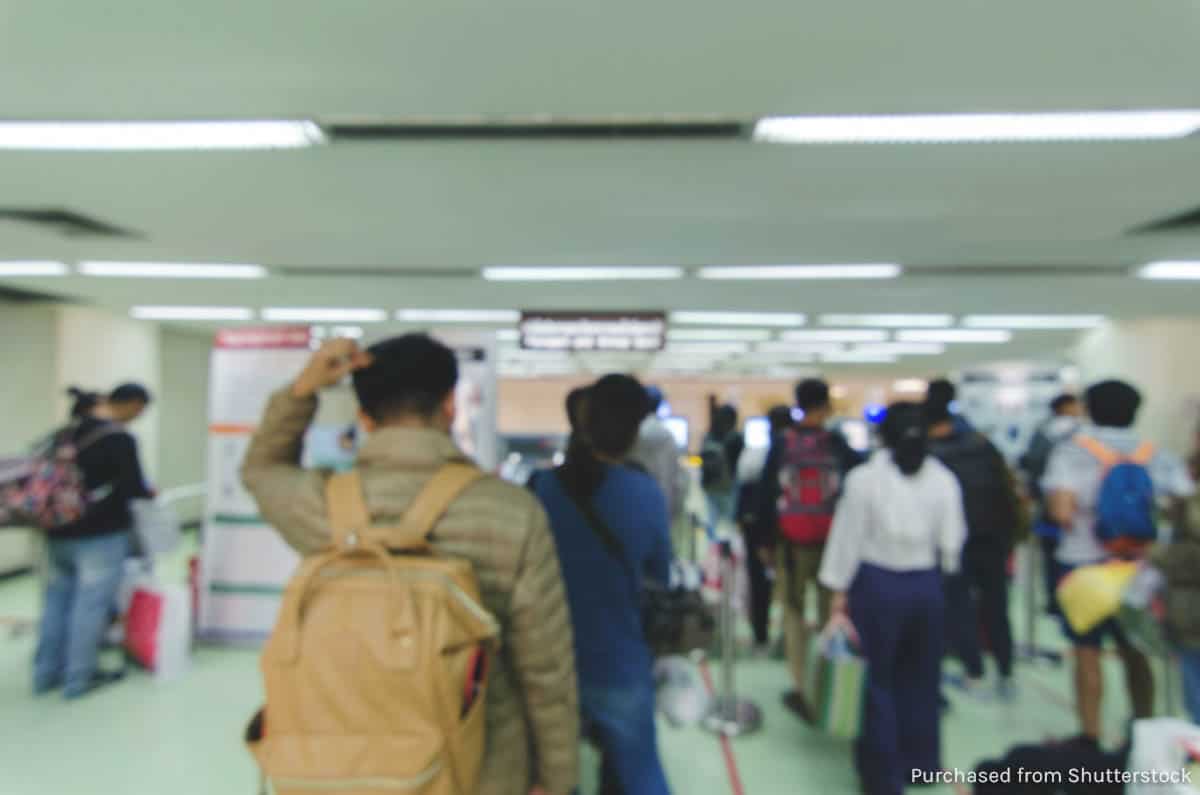
Whether you’re trying to catch a flight or you’re in for a tight layover, sometimes you need to clear the Immigration as fast as you can. But sometimes, you’ll find yourself in a sea of humanity at the immigration area.
In cases where there are multiple queues, pick the line next to the closed or priority counters. To be clear, NOT the line to the priority counters but the line CLOSEST to them.
You know why? Because more often than not, when Immigration Officers see that the lines are long, they will open another counter and split the nearest line, making it move faster. It also happens with the lines beside the priority or dedicated counters (seniors/children, airline crew, OFW). Often, when the officers have finished processing the special queue, they will start splitting the regular line beside them.
6. Don’t be too nervous when talking to Immigration Officers.
For many, clearing immigration is the most nerve-wracking part of the travel. This is the point where your trip could end before it could even start. It’s understandable if you feel anxious. For years, I was always stressed out by it too, sometimes more than I should be.
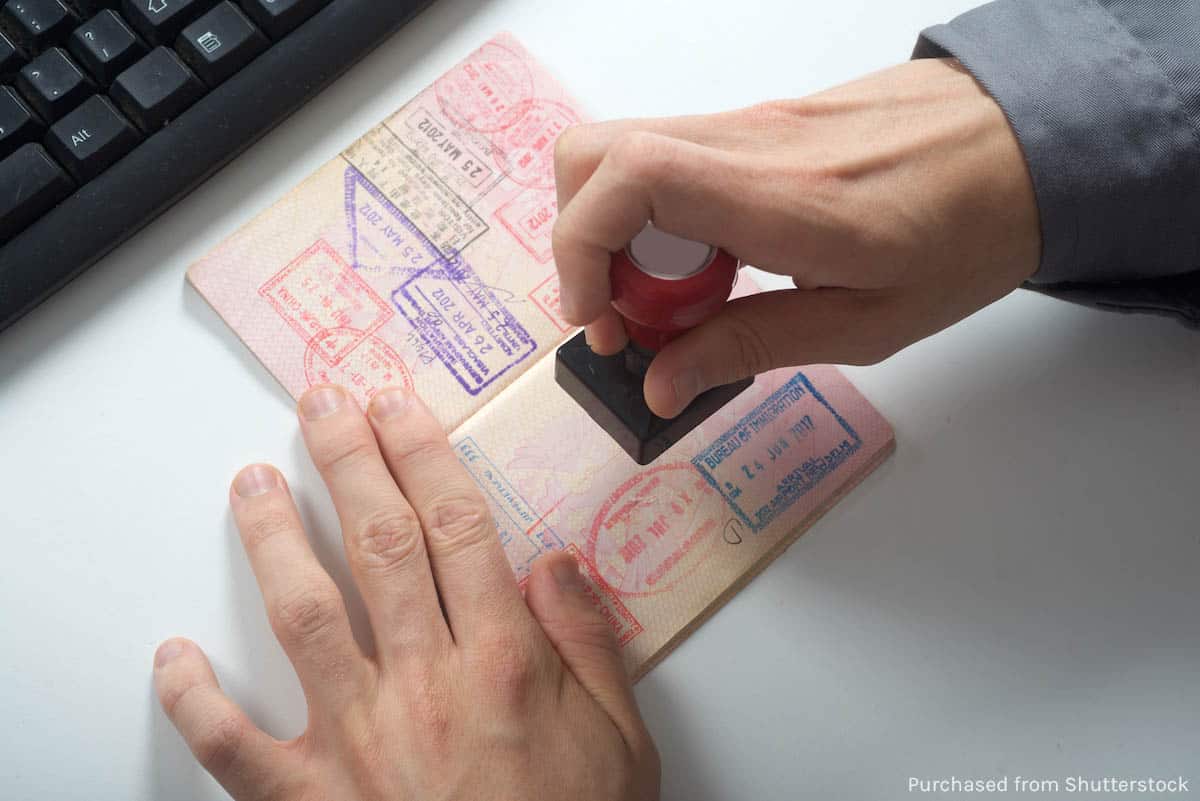
Here are the usual questions that they ask:
- Where will you be staying?
- What do you do for a living?
- What company do you work for?
- Who are you traveling with? How are you related to them?
- How long is your trip? When will you return?
The key to any immigration inspection is to answer their questions honestly, consistently, and confidently. If you’re telling the truth, it’s easy to feel confident because no matter how much they twist the questions, you’ll come up with consistent answers. If you worry too much, the nerves will just get in the way.
One time, I got too nervous I misheard the officer’s question. I thought he was asking if I had work. I answered yes. Apparently he was asking if I would be going abroad to work. Fortunately, I didn’t panic and clarified immediately.
7. When in doubt, contact the Immigration Office before your flight.
Immigration policies are a minefield. It’s always so very tricky. Sure, there are general rules but there are always exceptions. For example, for Filipinos, things get complicated when you’re sponsored or invited by someone else, especially by a foreigner who isn’t a close relative.
The whole visa game is also awfully confusing. Most countries require that Philippine-passport holders secure a visa pre-trip. Some countries offer a visa-on-arrival option, others can be accessed visa-free. And then, there are some countries that will allow you to enter visa-free if you’re carrying a valid third-country visa. It is very important to be equipped with the right information before your flight.
The policies also get updated every now and then. For example, Montenegro now allows entry to travelers holding a Japan visa. Kazakhstan is now visa-free for Filipinos. Taiwan is also visa-free for Filipinos for a limited time.
Hence, if you have doubts, we strongly encourage to get in touch with the embassy or immigration authority of the country you’re visiting before your travel date. Sure, there are a lot of reliable sources online, but the thing is, these visa regimes change fast and it’s hard for media outlets to keep up.
Sometimes they reply. Sometimes they flat out ignore you. But it’s always worth a try.
8. When traveling with family, let the dependents clear Immigration first.
I often travel with my mom and the kids in the family. My mom doesn’t speak English and she’s always frightened by airport processes. She can’t go through it alone. One time, I made the mistake of clearing Immigration first. When I was done, I wasn’t allowed to stay at the Immigration area, as is the case in most airports around the world. So when it was my mom’s turn, I was extremely worried that she would say the wrong things. Thankfully, my mom was able to answer the questions well.
It happened again in Japan, this time with my tween nephew. I made it through immigration first. When it was my nephew’s turn, he was asked to re-do his Immigration card because he made some mistakes filling it out. Thankfully, my nephew was able to accomplish the form on his own. Imagine if he couldn’t! I wouldn’t be able to help him!
Since then, I always make sure that (1) all of us are on the same queue, and (2) they go first. This way, when the officer had more questions they couldn’t answer, he could easily summon me because I was still there. This happened many times already. Sometimes, my mom could not understand the officer and I would be asked to come over for clarifications.
When with kids, you can actually go to the counters together.
BEFORE BOARDING
9. Bring a grooming kit in your carry-on bag.
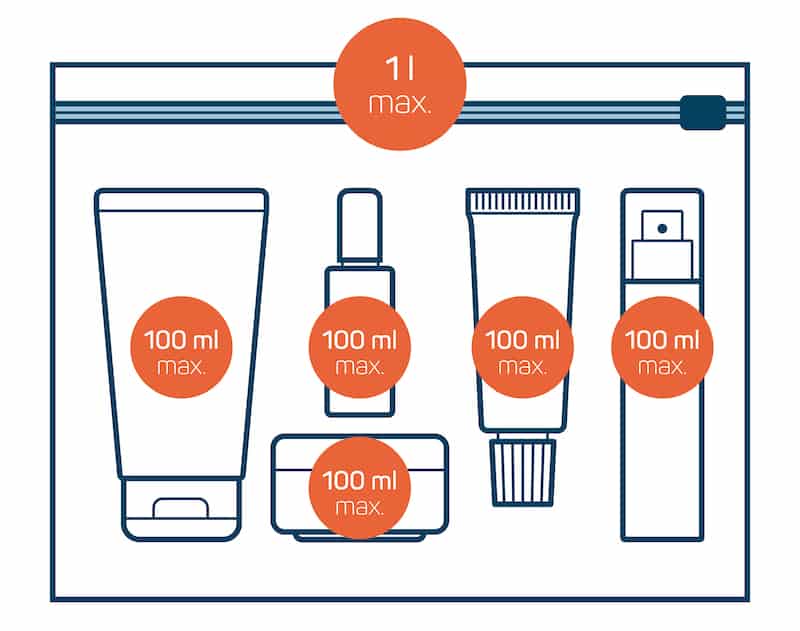
First things first: For carry-on, the international standard is that liquids, gels and aerosols must be in containers no bigger than 100 ml and these containers must be kept inside a clear 1-liter zip-lock bag. Each traveler can carry only one bag carrying liquids. Because 100ml is equivalent to 3.4 ounces, this is sometimes called the 3-1-1 rule: 3 ounces in 1 liter bag per 1 person. For many travelers, especially those who don’t check bags, this is not enough. Hence, you have to choose what to bring onboard wisely.
You can invest in smaller containers and just refill each time you travel. You can also purchase travel-size products! I don’t normally buy pocket-size shampoo, soap and skin products because I usually check them in. For carry-on, I only bring things I would need on the flight or at the airport. Here’s what’s inside my carry-on grooming kit:
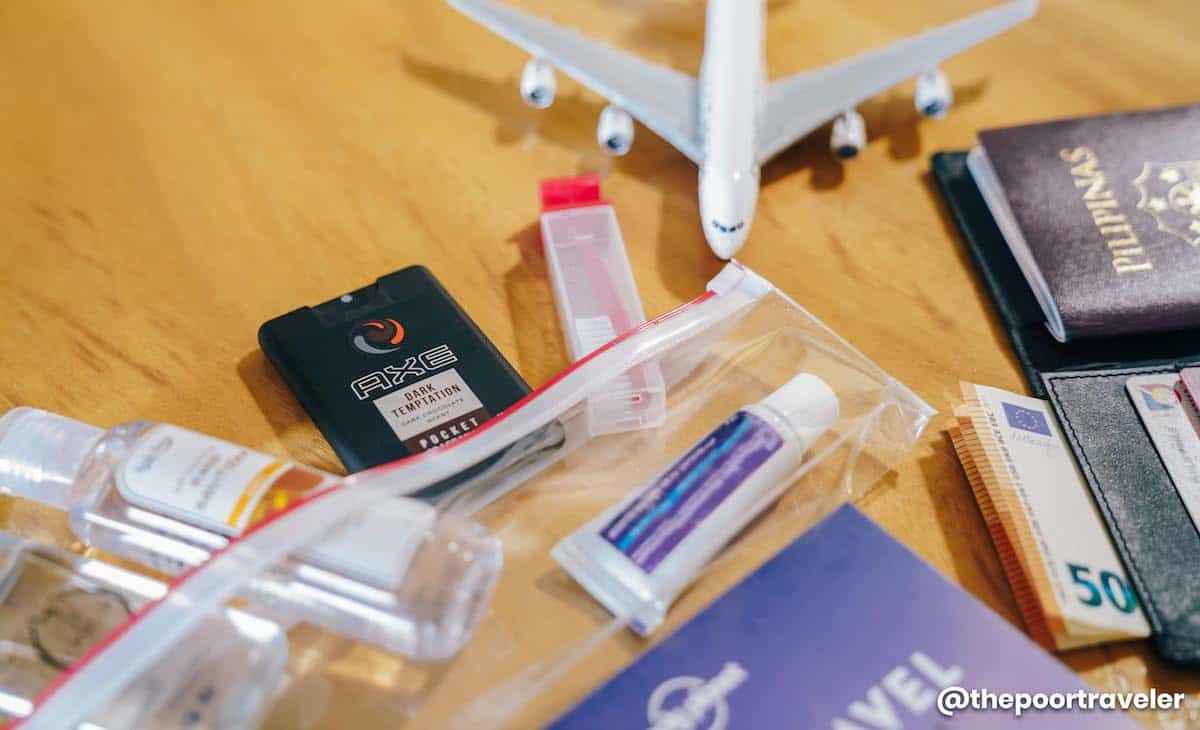
- Toothpaste
- Facial wash
- Hand sanitizer
- Mouth wash
- Perfume
Why these five? At the very least, you should still be able to brush your teeth, wash your face, keep your hands clean, and smell fresh. If you’re like me, you feel gross during and after a long flight. My face gets oily all over and I feel like I smell like plane food. These five are my essentials.
One thing most travelers overlook is bringing a perfume. Sometimes, we get so used to the smell of our surroundings that we don’t realize that we carry that smell with us even when we leave. One time, turbulence caused cupped noodles to spill a little on my shirt and camera bag. It was only a tiny spill so I didn’t worry much about it. I arrived in the morning and check-in time wasn’t until mid-afternoon, so I decided to explore first. I didn’t realize I was reeking of noodle soup the entire day I was touring.
On another occasion, on the way to the airport, my family decided to have samgyupsal before they dropped me off at the airport. I smelled like a breathing samgyupsal the entire flight! Worse, I had to meet someone important at the airport and we’d go straight to a business meeting. I had no time to change or shower. In both instances, a perfume would have been an easy fix but I checked it in.
These days, I carry AXE Pocket Perfume with me when I travel. It’s only 17ml so it’s allowed onboard and fits my carry-on kit perfectly. I use it especially on long-haul flights. But it proves useful not just when flying but also when touring. I often find myself in restaurants, bars or vehicles where the smell can stick to the clothes or skin. And I also sweat a lot when I travel because I enjoy walking around in the sun. It’s not just the smell. It leaves me with a sticky feeling that sometimes puts a damper on my mood. But because AXE Pocket Perfume is small and light, I can take it with me anywhere.
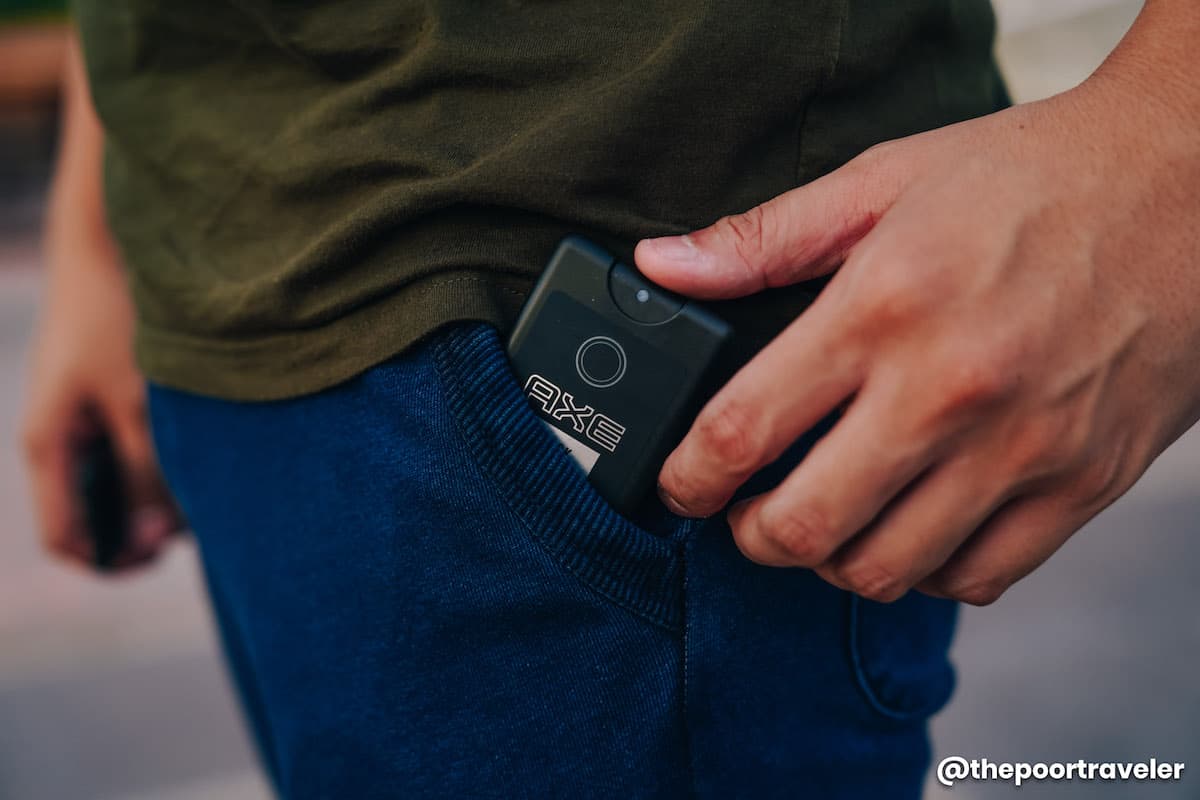
I put it in my pocket or on the side of my camera bag, and use it whenever and wherever I feel the need to refresh. You can get one at any of the leading convenience stores or online for only P65 apiece.
These are just some of the tips to make your airport life a lot easier. Of course, I still have a lot to learn, but I’d like to think that I’m wiser and more chill than the dude who used to be terrified of Immigration and Customs officers. If you have more to add, feel free to sound off in the comments section below!
This post is brought to you by Axe.
2️⃣0️⃣1️⃣9️⃣ • 1️⃣1️⃣ • 2️⃣6️⃣


Nice blog, thanks for the tips. Queueing in Immigration counter near the closed/VIP is indeed true. Anyway, I invest with 15.6″ Mobile ViP Checkpoint-Friendly Backpack with SafePort® Sling Drop Protection (Black). I don’t need to takeout my laptop, but simply unzip my bag and let it through the xray.