A more updated version of this article can be found here:
Hong Kong Travel Guide
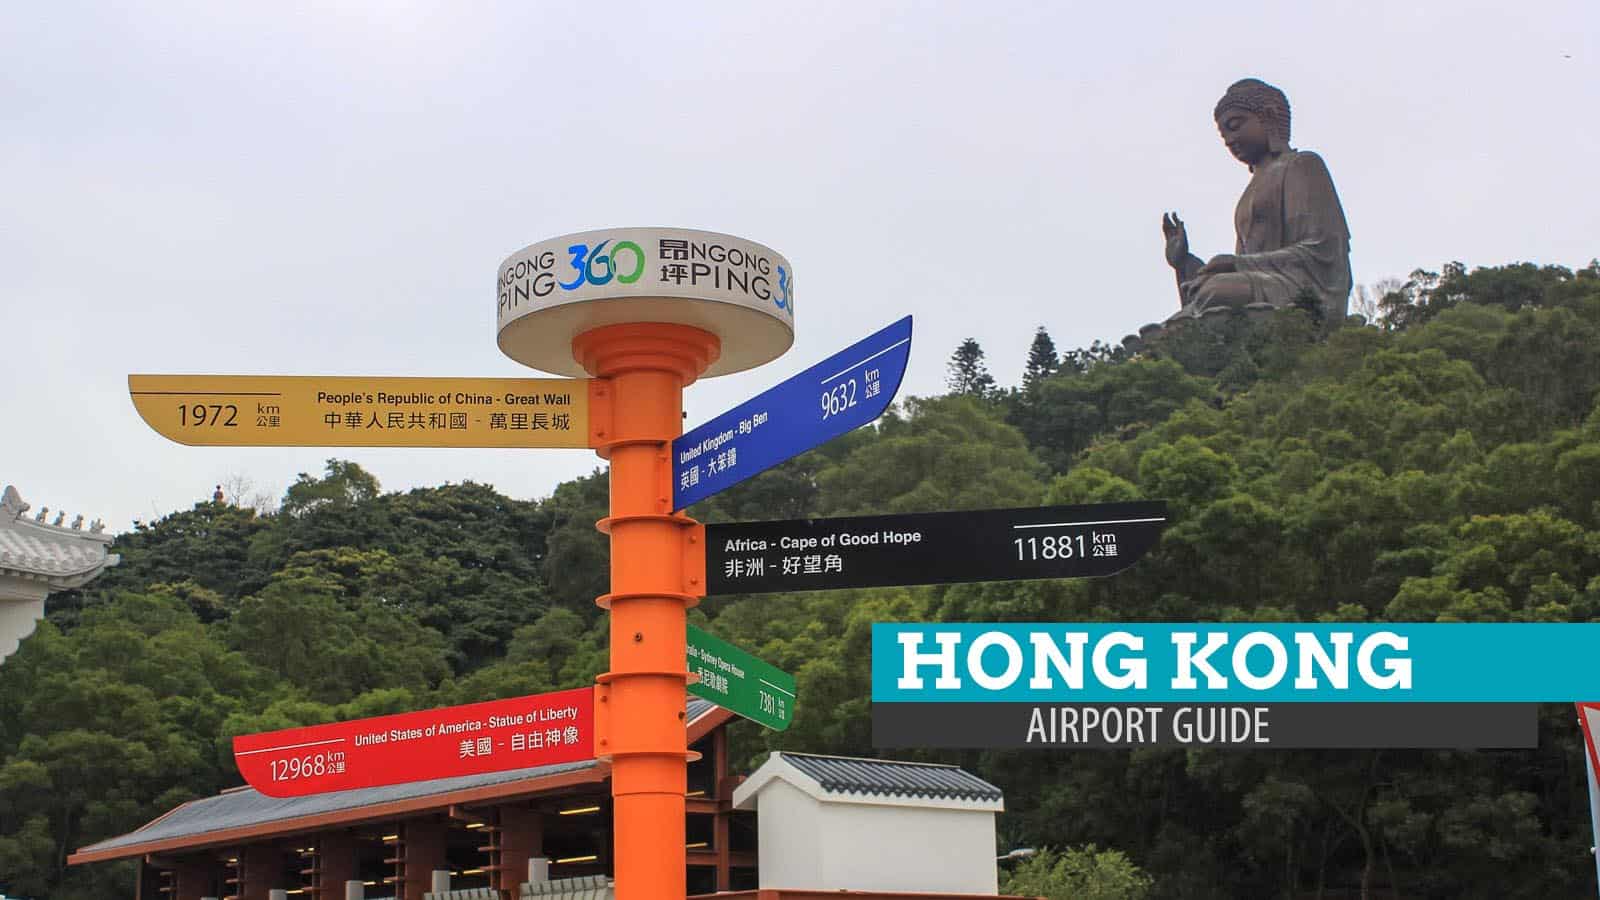
First Time Abroad: Airport Guide
Our trip to Hong Kong was filled with first times. For starters, it was my family’s first trip abroad. It was also my first time in Hong Kong. It was their first time to ride the plane and first time to stay at an airport. Imagine the excitement of my mom, sister, niece and nephew. That’s why even though our flight was scheduled at 5:40 am, we were already at the NAIA Terminal 3 as early as 3am.


What to Do Upon Checking In
Cebu Pacific Air’s check in counter opens at around 4am so we had a full hour to kill. We decided to check the important items that we needed to bring. I’d like to share with you our check list!
- Passports
- Cebu Pacific Air tickets/itinerary
- DSWD travel clearance (only if you have minors whose parents are not going with you)
- Valid IDs (just to be safe. The passport serves as an ID already)
- Credit cards (in case we decided to splurge)
- Money (in US dollars)
- Maps of Hong Kong
- Our itinerary in Hong Kong
- A sheet of paper where we wrote important contact numbers and addresses (Important!)
- A pen!
You might be thinking, “Why should I bring a pen?” Well, you will need it. In fact, one of the first things you should do is to find a stack of immigration forms at the check in counter. Accomplish the immigration form by providing personal information and the address of the hotel where you will be staying. Thus the sheet of paper with addresses and contact numbers in the check list. You should also accomplish forms for the children with you. You will need to present these forms with your passport and ticket upon check in.
After filling out the forms, we fell in line and when it was our turn, we handed the check-in agent our documents. We decided not to check in any baggage since we were traveling light. But apparently, my sister brought an umbrella. Umbrellas are not allowed to be hand-carried in the Philippines so we had to throw it away. Poor umbrella.
Travel Tax and Departure Fee
After the check-in agent processed our boarding passes, he asked us to pay the travel tax and departure fee first (the counter for this is at the near end of the airport).
- Travel tax — P1,620
- Departure fee — P550.
After paying, we returned to the check-in counter and secured our boarding passes. (We didn’t have to fall in line this time. The check-in agent just handed them to us.) We then headed to the Immigration Booths to have our passports stamped. Yipee! May tatak na naman passport ko! Simple joys, sorry. :P
And then of course, the final security check.
During the Flight
Our plane departed at exactly 5:40am as scheduled. My niece and nephew couldn’t believe they were on a plane. They kept on looking outside. It was sunrise and the clouds entertained the kids.
At one point during the flight, flight attendants distributed arrival cards to all passengers. We accomplished it.

Arriving at Hong Kong International Airport
Our plane landed two hours later, on schedule. However, we were quite saddened by the rain. It was raining so hard when we arrived.
Because our plane parked in the far end of the terminal, we had a long walk to the Immigration Counter. We walked really, really fast because we kinda expected the long lines at this point since the Immigration Officers would be asking routine questions to tourists.
When we approached the Immigration Counters, we presented our passports and immigration cards (the forms we filled out on the plane). As expected, the Immigration Officers asked us routine questions like “When is your flight back to Manila? Where will you stay? Do you know anyone in Hong Kong?”
Another important thing to remember is that taking pictures around the Immigration Area is prohibited.

Hong Kong Tourism Board Visitor Information and Octopus Cards
After going through Immigration, we chose to drop by the Hong Kong Tourism Board Visitor Information to get free brochures and maps. Yes, it’s free so don’t be shy grabbing some.
We also bought Octopus Cards for each of us. It was wise to get Octopus Cards because every form of transportation we would use accepted Octopus Cards. We didn’t have to worry about coins or change. All we need to do was flash the card when boarding the bus or train.

The standard Octopus Card costs HK$100 plus HK$50 deposit. There is a special rate for children: HK$20 load and HK$50 deposit. The deposit for both standard and children’s cards is refundable when you surrender the card. To learn more about Octopus Cards, visit their official website here.
Exchanging Currencies (PHP or US$ to HK$)
While we were planning the trip, we learned from online communities that although the exchange rate at the airport was good, money changers at Tsim Sha Tsui (downtown) offered better rates.
Our original plan was just to exchange a small amount, enough for breakfast and bus fare, and then convert most of our US dollars to HK dollars in Tsim Sha Tsui. Fortunately, we didn’t have to do that since we already had Octopus Cards and that was all we need to go to Tsim Sha Tsui.
From the Airport to Tsim Sha Tsui
Tai San Guest House, our hotel, is located in Tsim Sha Tsui. To be exact, it is at 15th floor, Burlington House, 91-94 Nathan Road, Tsim Sha Tsui. It only takes a bus ride to get there from the airport. It was great that the rain subsided a little.


To get there, we boarded an Airbus 21, a double decker bus. It was a long ride but we didn’t fall asleep. We didn’t want to skip our stop. We knew that the Tsim Sha Tsui bus station was the 13th stop (with the airport being the first) so, silly as it may sound, we actually counted the number of stops. (Actually, we didn’t have to do that because the name of the stop was displayed on the screen inside the bus.)
Posted:2011•4•10


it would take a lot of money to have that vacation.. and ofcourse i will not forget to bring a PEN!!! (:
Hi, thanks for sharing the HK exprience. It helps me alot. And il be using your post as my guide in preparing and planning our HK trip with my family next year. This is my promise to my niece who will be graduating next year. (elementary level)
Hope we could read more posts about travelling tips either overseas or local. It will surely be a great help for me,
Kudos to you pal.
Hi Joy! I’m glad that you find my blog useful. I have so much backlogs; havent been blogging about my recent trips.Hopefully I find time to write about them soon. :)
Hi there!!!
Really appreciated this post!!! We’ll be there by December.. Good thing that we’re also staying at Taisan Guest house in Harilela branch..
Lucky for me I found you blog, we got identical itinerary,I will also be staying at Taisan 1 thanks for your posting it will help me a lot on our trip this coming September. God Bless ,,,
sir tiningnan ko yun site ng tai san guest house bout sa rate monthly rate lng ba talaga paano po kapag 5 days lng kami magstay?
Very good blog. Learned a lot. One questin lang po, how did you make your reservation in Tai San Guest House?
Very informative and helpful sir. Paano ba mag book sa house guest? Thank u..
Hi Joy! You may visit: http://www.hktaisanguesthouse.com/eng/index.htm :)
Hi, your blog helped me a lot. Thanks for talking about the travel tax and all. By the way, I just arrived from Hongkong today with my husband. We bought octopus cards and paid $50 deposit for each. We were in a hurry so we weren’t able to get our deposit and we brought our octupus cards with us to the Philippines. I’m planning to those 2 octupus cards for P500. Both are still loaded with HKD $15 as we were not able to use them all. If anyone is interested, please add me in FB: http://www.facebook.com/hopearcanoshin
That is my personal account. You may add me so you can also see my pictures in Hongkong. I’m okay to do a meetup in MRT station.
Thanks!
Hi hope..I’m interested in buying your 2 octopus cards. This is my contact number 09178401518. Thanx..
Haha, hope you find a buyer! :)
Hi poor traveller! Im a fan of yours! I did travel to SG using ur blog and i made it! Thanks! now im planning my HK tour nxt year! Just wanna ask how u booked for Taisan Guest House? I mean, u just emailed them?Thanks! Hope to hear from u!^_^
Yep! I emailed. And then they gave me their mobile number. :)
Hi, your blog gave me the information I needed. Thanks.
BTW, sayang ung payong, pwedeng icheck-in yon for free sana hindi nyo tinapon :) same thing happened sakin went we went to SG, i asked the lady sa baggage counter if pwedeng isali na rin ung payong, she said yes and its free :)
Hi Luisa! Haha, yeah. Unfortunately, we already checked-in our baggage when we found out that umbrellas were not allowed for carry-on.
sana maging successfull lakad na to. salamat po dito sa blog.
Kailangan ba talaga ma ma stayhan ka na sa Hong Kong bago ka pumunta? Diba tinatanong sa immigration? What if, dun ka palang maghahanap pagdating? Please help.
This is very helpful were leaving next week with my family my husband and my two kids. We’ll stay at Taisan guest house too! Would like to ask did you call ken or ate yolly before your flight just to confirm your reservation or an email would? I’ve already email ken but no reply yet.
Will appreciate you’re response. Thank you
Mrs. Isada
Hi Lorelie! I called ATe Yolly to confirm :)
this is a great blog to read, since me and my family will travel HK this coming jan 23. as far as i know sunny cold dry weather there just like un bagiuo with 16-14 degree celcius.
question, is it ok to bring my e cig and hand carry it? i read some articles the e cig are banned in HK? is it true?
Hello poortraveler,
Will be leaving for Hong Kong on thursday with my husband and son and ur blog help me to prepare everything… thank you so much for the bits and pieces of information. More travel and God bless you :D
No problem, Beth! Have a safe journey! Enjoy Hong Kong!
hi there! been reading your blog for the longest time… thanks for all the wonderful tips :-) was able to travel to hong kong 2x now and we stayed at the Taisan Harilela branch on both occasions. we’ve already booked tickets for our 3rd trip back to hong kong, and for a change, we thought of booking a room at their burlington branch… just have a few questions though… did you book directly with the owner Ken, and what type of room did you get, was it the triple or quadruple one? i’m having a few qualms on booking sa burlington because of the negative feedback i read on other sites… thanks in advance for your reply :-)
Hi Grusha, yes, I book directly via email with Ken. “Family Room,” too small, to be honest, but we didn’t mind because we were always out anyway. :)
if you have more photos pala of your actual room, if you’re not busy, baka pwede humingi ng favor to send a few to my email :-)
thanks again!
Hi! I posted a lengthy comment this morning, not sure if it was sent.. anyway… thanks for all the helpful tips on your blog… was able to stay at Taisan Harilela 2x already and on our 3rd trip to HK, we thought of booking at Burlington for a change. Would just want to ask… did you reserve your room with Ken… or did you contact Ate Yolly instead? Have a few hesitations kasi with the Burlington branch because of negative feedback I read about booking with Ate Yolly eh.
Thanks in advance for your reply!
hi,as a new traveler your post is really a big help for me every-time i travel i consult your blog first its really 99% accurate ,thank you so much ,more post and more power…merry Christmas and a happy new year my next itinerary is MIRI
Woohoo! Thanks Aicelle! I haven’t been to Miri so please lemme know what you think about it after your visit!
hi poor traveler. my husband and i will be going there on the 22nd this february… news about the visa requirement for ordinary passport holders really worries me…though it’ll still be deliberated upon this feb 5, do you think it’ll push through? its a bit saddening cause it’ll be the first time we’ll be out of the country. can you suggest Plan B just in case it happens? thanks so much
I have no idea how this will turn out, but you should push through with the trip. I love HK, it’s a lovely city. :)
Hey there! Your blog has been bookmarked in my computer since like FOREVER!:) I am traveling alone (I guess) to Hong Kong this June. I am creating an itinerary base on your posts. I will be there for 5 days and your suggestion to go to Macau first is like the best advice I had in years. Keep blogging!!!
Haha, thanks, Capt. Shadow! And enjoy your HK-Macau trip. :)
sorry but it’s my first time to go to hk if ever (planning),.uhmm..I would like to ask if you will be travelling there,do they require you to book for your hotel first before arriving there or is it possible to just look for a hotel when you arrive there?…thank you..
Hi! May I ask if yung travel tax and departure fee is per person or for the whole group na? We’re a family of 6 kasi e. Thank you! :)
do you have a blog about Ocean park?thank you..