Last updated: 2024 • 5 • 10
If you’ve flown out of the country before, then you’re probably familiar with the whole pre-flight thingamajig. But if it’s your first time, read on as I discuss in detail the whole check-in and boarding processes so you could breeze through them.
One of the biggest mistakes that you will make if you’re flying to any other foreign destination is to assume that everything would go well exactly like how it does with domestic flights. Many travelers who have flown domestically before make that mistake and it results in stress caused by trying to beat the time and sometimes missing the flight altogether.
The check-in process for international flights is very similar to domestic in many ways but there are also many differences. For starters, you need to be at the airport at least 2 hours before the scheduled departure time for international flight as opposed to 45 minutes for domestic. This is because there are additional steps that need to be done before anyone is allowed to board the plane.
What to Do Upon Check-in
- Accomplish the eTravel form online. You can fill it out as early as 72 hours (3 days) before your departure time through the official etravel.gov.ph website.
- Pay the Travel Tax. In some cases, it is already included when you book your ticket, but it usually isn’t. Check your ticket’s payment breakdown to confirm. If not sure, check-in first. The check-in agent will tell you if you still need to settle the tax. It’s P1,620 per person.
- Check in! Present your passport and visa (applicable) together with the Travel Tax receipt to the check-in agent. When instructed, place the bags for check in on the weighing scale one by one. Once done, the agent will hand you your boarding pass.
- Proceed to the Immigration Booths. Philippine passport-holders have lines separate from foreigners, so make sure you’re in the right queue. When it’s your turn, give your passport to the Officer, who may or may not ask questions.
- Final security check. Remove all gadgets and metal items (including belts and coins) from your body. Take your laptop out of your bag and put it on a tray. Remove your shoes only when instructed.
After the final security check, head to the Pre-Departure Area. Check your boarding pass to see what gate you should go to. You should be fine here. All you need to do now is wait for the boarding call.
By the way, we have a MORE DETAILED international flight guide here: AIRPORT DEPARTURE STEP-BY-STEP GUIDE! ✅
Things to Bring to the Airport
Whenever I travel abroad, I always have a checklist of items I MUST NOT forget. This is also why it is important to go to the airport early, like 3 hours before the flight. This allows you time to sit down and check your things. And in case you forgot something awfully important at home, you still have time to go back and get it. Allow me to share with you my checklist.
- Passport – The last thing you want to happen is to unintentionally leave your passport at home.
- Flight Itinerary/Tickets – When I fly domestic, I usually just show the check-in agent the tickets on my phone. They accept it. But for international flights, you will be showing your tickets a number of times (travel tax counter, Immigration, etc) that it would be impractical to whip out your phone every step of the way. A printed ticket will make it a lot easier for you and the people who will check it. Besides, a piece of paper does not need to be charged.
- Company ID – Immigration Officers sometimes ask for a company ID as a proof that you would return to the Philippines and would not seek employment opportunities in your destination country.
- DSWD Clearance – Only when I’m traveling with my nephew or niece and their parents are not joining the trip.
- Credit card – Some airlines require a copy of the credit card used when the tickets are booked online. You might also need it as a safety net in case you run short of cash. Some hotels also ask for credit card for deposit.
- Travel Itinerary – Make a clear plan of what you want to do and write them down. In case the Immigration Officers pick you for a random check, a printed itinerary will help convince them that you will really go to your destination to tour and nothing else.
- Hotel address and contact number – You will need it. If you’re traveling with a kid or someone who doesn’t speak English (or the language spoken in the country you’re visiting), give them the address and contact number of the place you are staying in. In case they get lost, it will be easier for them to find their way to you. You will also need the hotel address when filling out immigration forms.
There’s a reason why teams competing at the Amazing Race all have a fanny pack with them. Though they might look unfashionable, they are absolutely helpful.
How to Avoid Being Offloaded
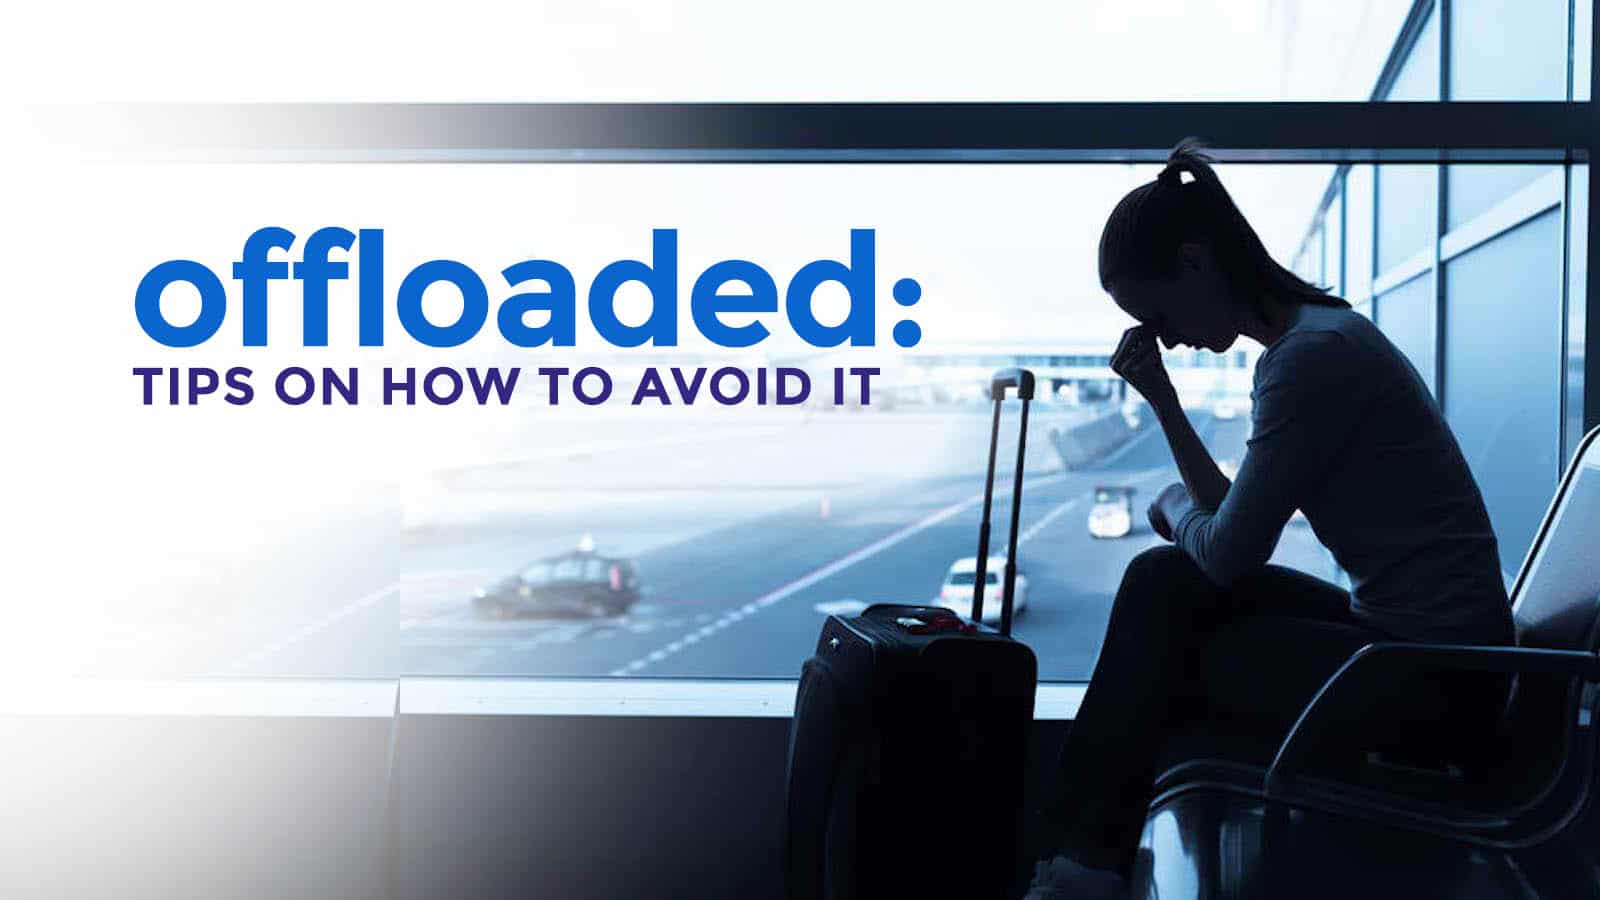

Aside from the items above, there may be other documents that you need to prepare depending on your situation or background. We created a separate post for it.
✅ READ: HOW TO AVOID BEING OFFLOADED
During the Flight
At one point on board the plane, flight attendants may distribute arrival cards to all passengers. Accomplish it immediately to save time. Here’s an example of an Arrival Card. This one is for Hong Kong.


Don’t forget to fill out these forms because you will have to present it at the Customs/Immigration booths in the country you’re visiting.
Frequently Asked Questions
Since a lot of people are asking, I’m adding this section and it covers both counters here in the Philippines and those in your destination. Every country has their own Immigration rules. Some require visas from Filipino visitors, others don’t. Some have stricter rules, others don’t. It is important that you know these rules and requirements before your flight.
But here are some frequently asked questions that I thought I could answer. Again, I can’t be too sure but I’m only relying on experience.
- Do I need to have a hotel reservation before my flight?
If you’re traveling as a tourist, it is BEST to always book accommodations first before your flight. You will be required to indicate the address of your hotel on your eTravel and arrival cards, and Immigration officers on both sides sometimes ask for hotel reservation. Even when I’m backpacking across more than one country, I usually make sure I have at least booked accommodations on my first night in the next country I’m visiting. Again, you could go there without prior preservations but if you want to avoid the hassles of getting asked too many questions and the stress that comes with it, better book in advance. - I’ll be staying at a friend’s house, do I need an invitation letter?
If you can, produce an Affidavit of Support and Guarantee from your host or sponsor. Depending on your background and how strict the Immigration officer assessing you is, you might be asked to present this, so it’s best to be prepared just in case. You will be asked to indicate your “address abroad” so make sure you have that. To be on the safe side, be sure you have your friend’s contact number, too. - Is there a show money?
If by “show money” you mean proof of funds, then yes, they might look for it depending on your background and your answers. This is why some travelers bring a copy of their bank certificate. I have never been asked to present this. The closest experience I got was when the officer asked how much money I have with me. I just answered and that was it. But one of my teammates was asked to open her banking application on her phone and the officer checked if it had funds. For more info about this, READ: ALL ABOUT SHOW MONEY! ✅
✅ VIEW MORE FAQs HERE :)
Enjoy your trip and have a hassle-free journey!
Where to Stay Near NAIA (Manila Airport)
If you’re looking for a hotel or apartment close to the airport, here are some top recommendations on various online booking websites.


- Belmont Hotel Manila. Check Rates & Availability! ✅
- Holiday Inn Express Manila Newport City. Check Rates & Availability! ✅
- Hilton Manila. Check Rates & Availability! ✅
- Manila Marriott Hotel. Check Rates & Availability! ✅
- Sheraton Manila Hotel. Check Rates & Availability! ✅
- One Palm Tree Condo. Check Rates & Availability! ✅
- Eigthy One Building C53J Condotel. Check Rates & Availability! ✅
- Sarasota Residential Resort Manila. Check Rates & Availability! ✅
Search for more Manila Hotels!
Updates Log
2011 • 7 • 30: Original publication
2024 • 5 • 10: Last updated
More Tips on YouTube ⬇️⬇️⬇️

Is this post helpful to you?